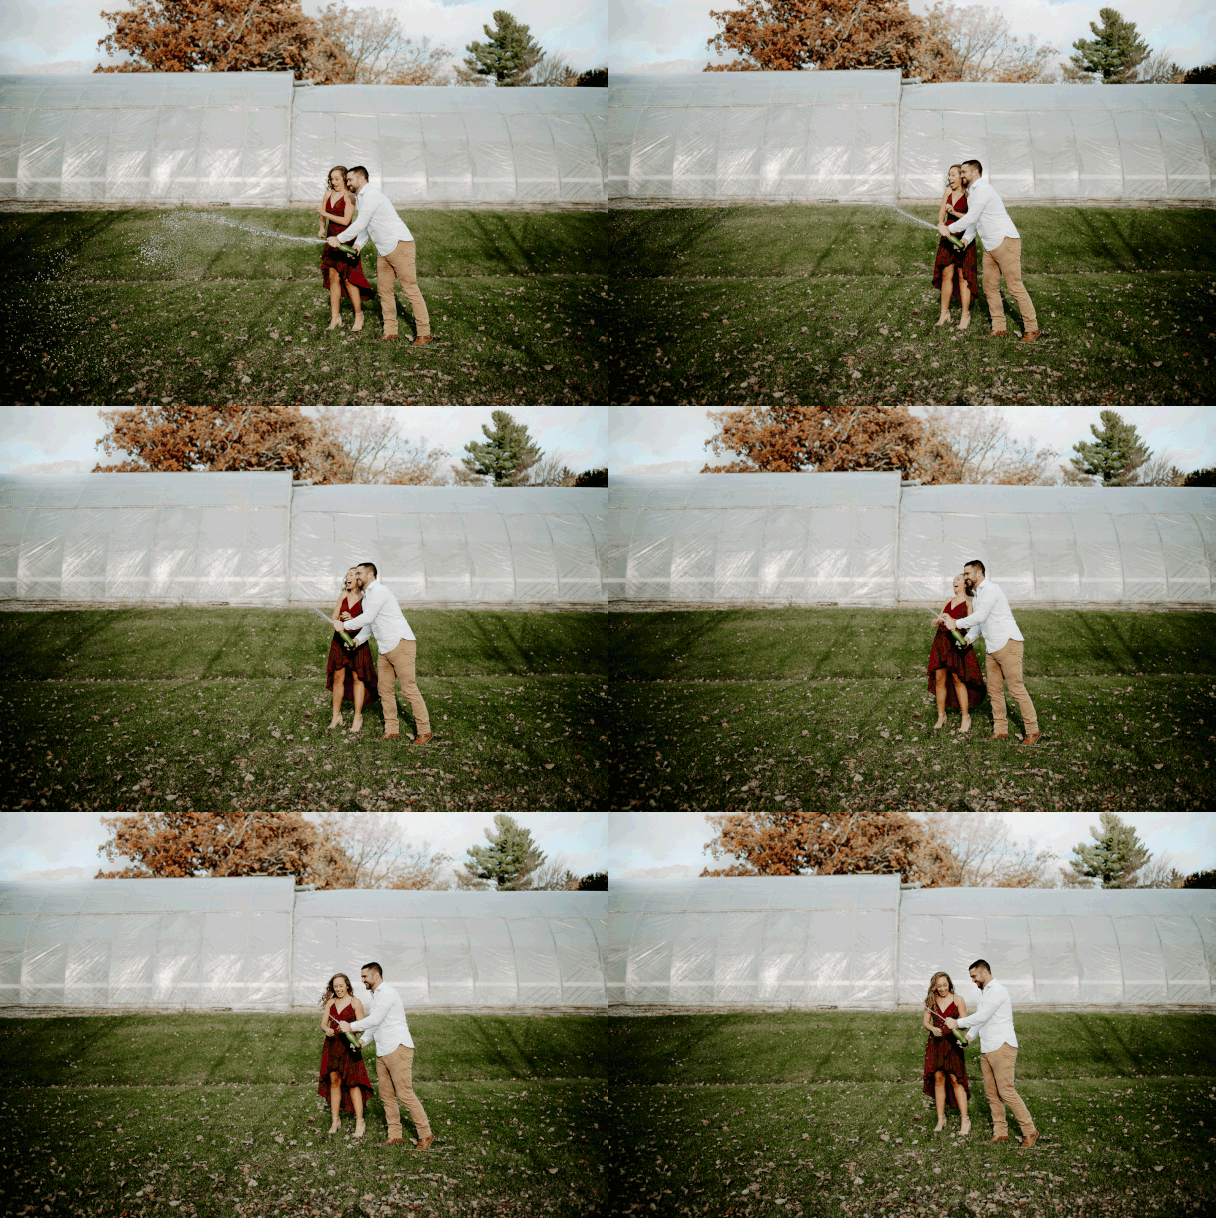
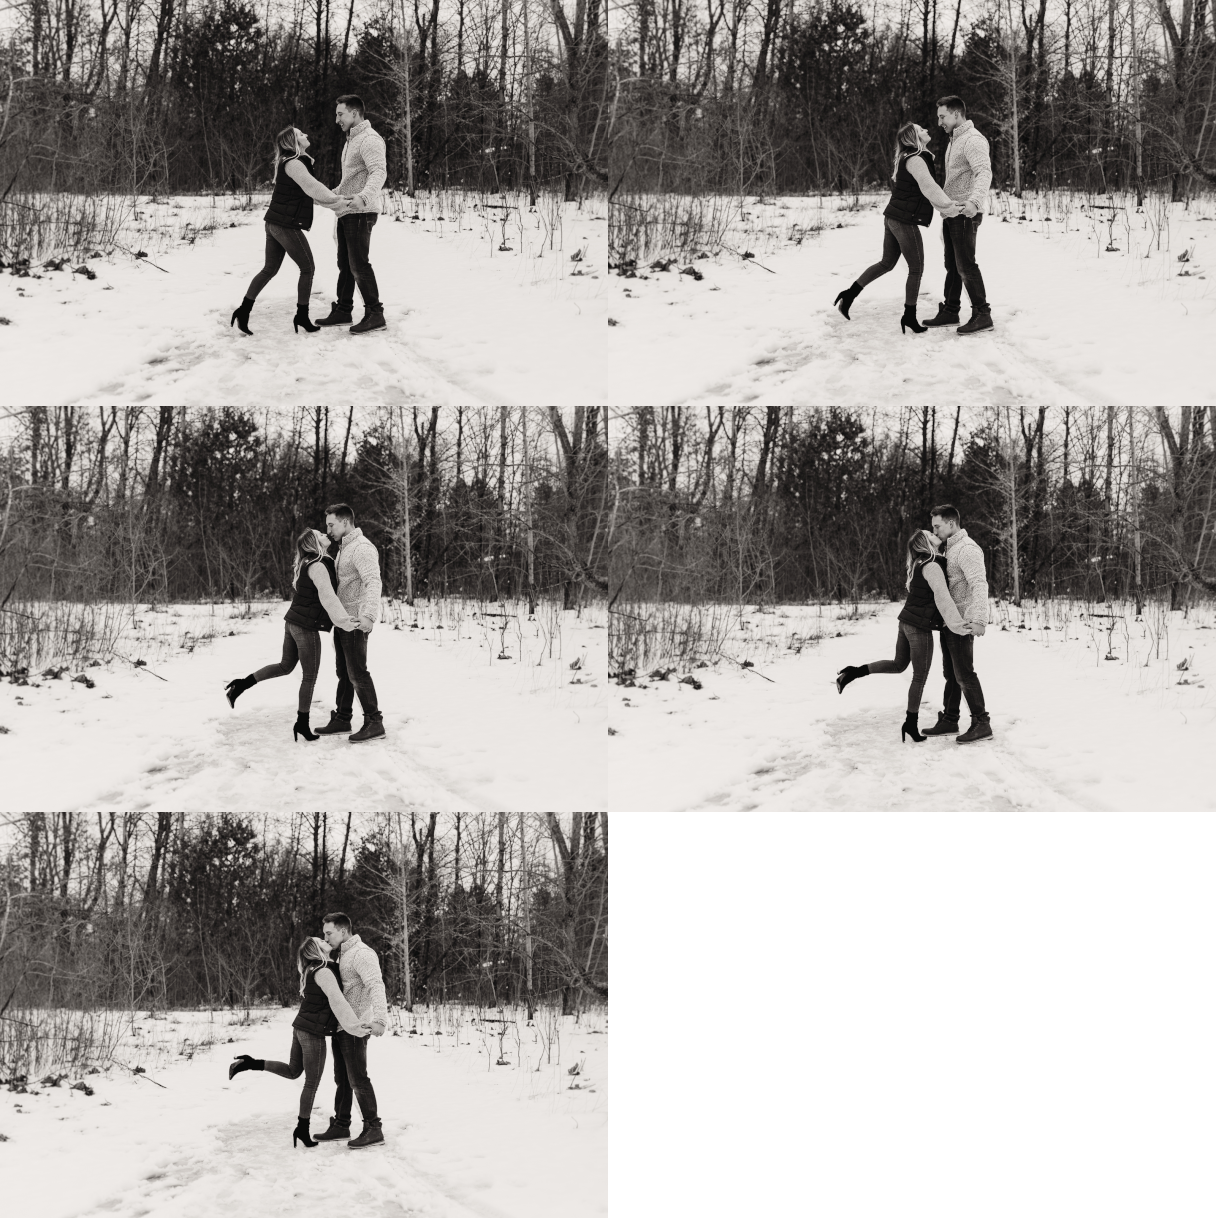
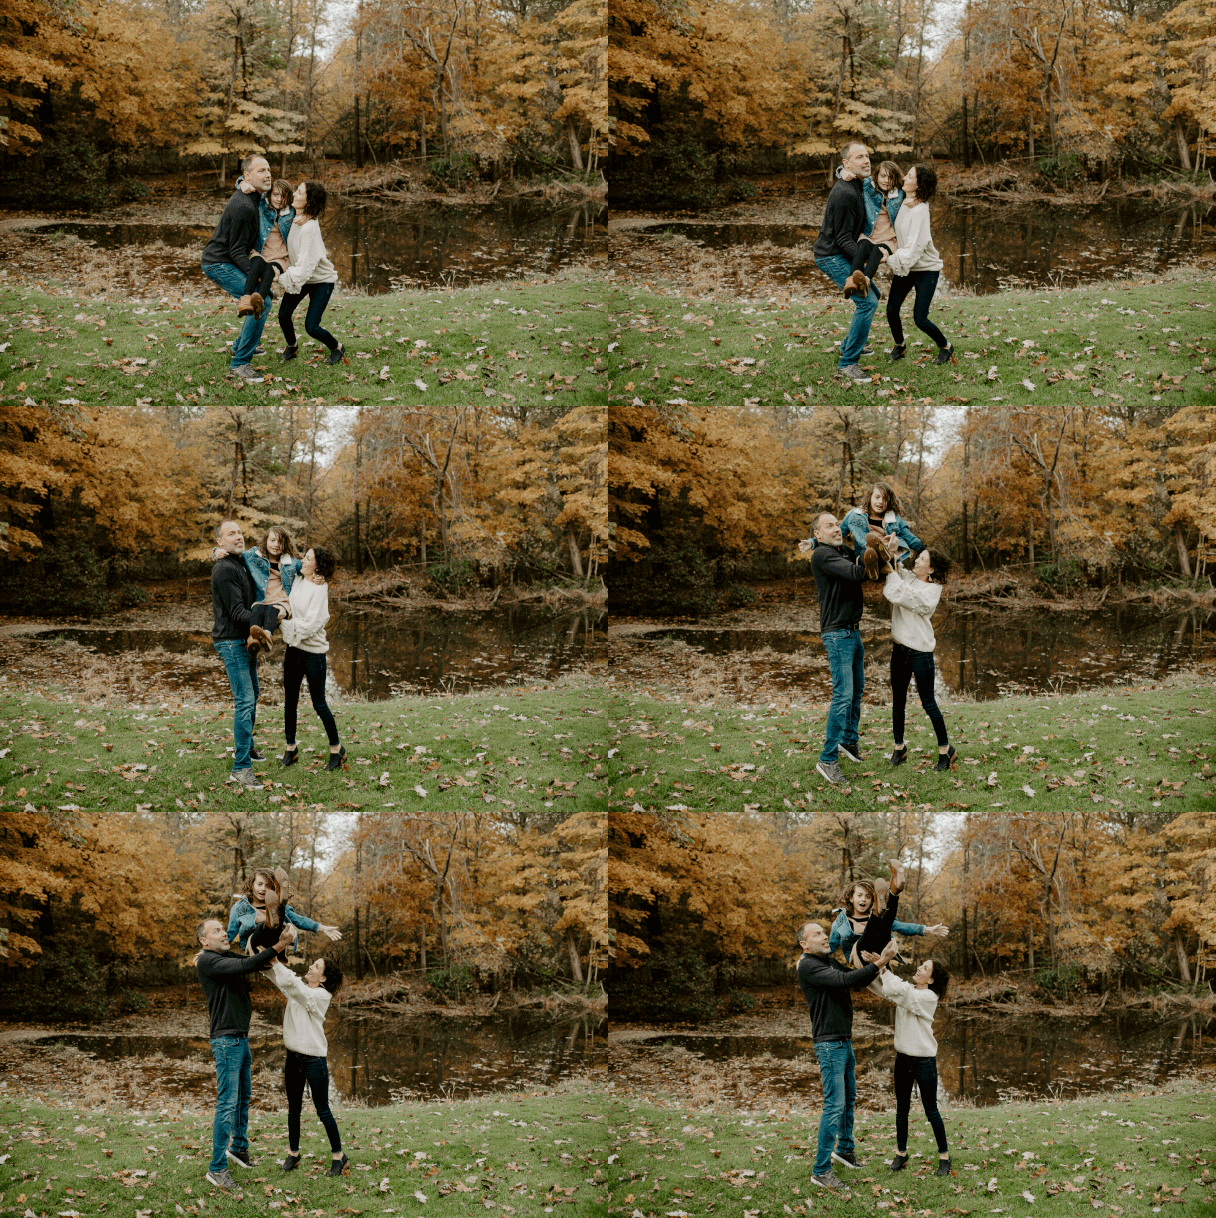
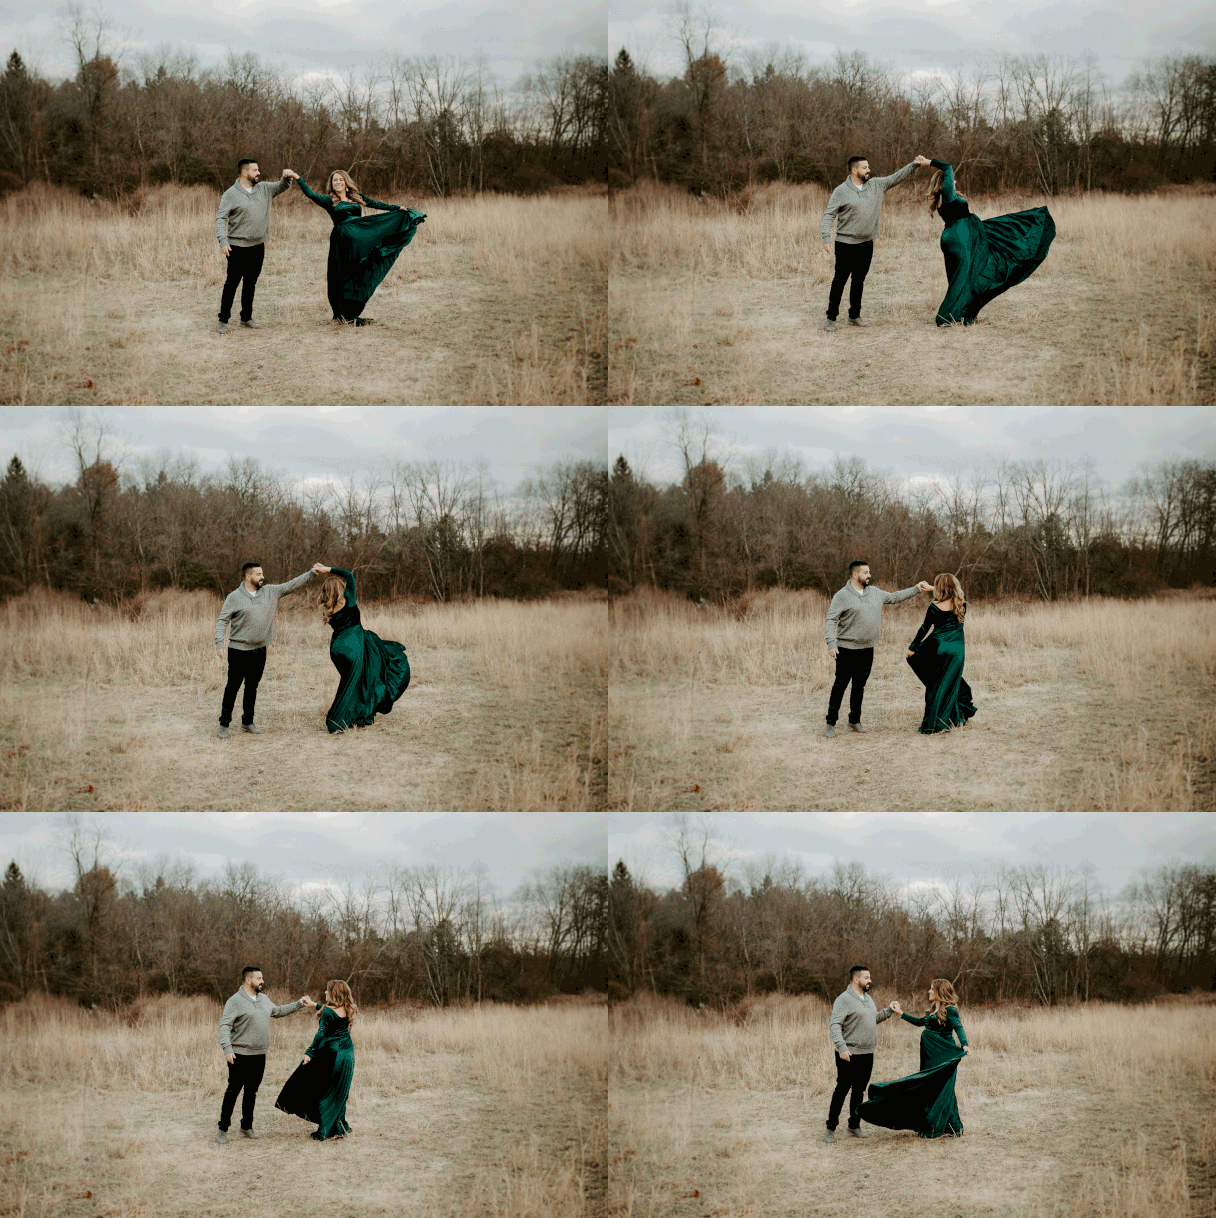
How to Create an Animated GIF in Photoshop
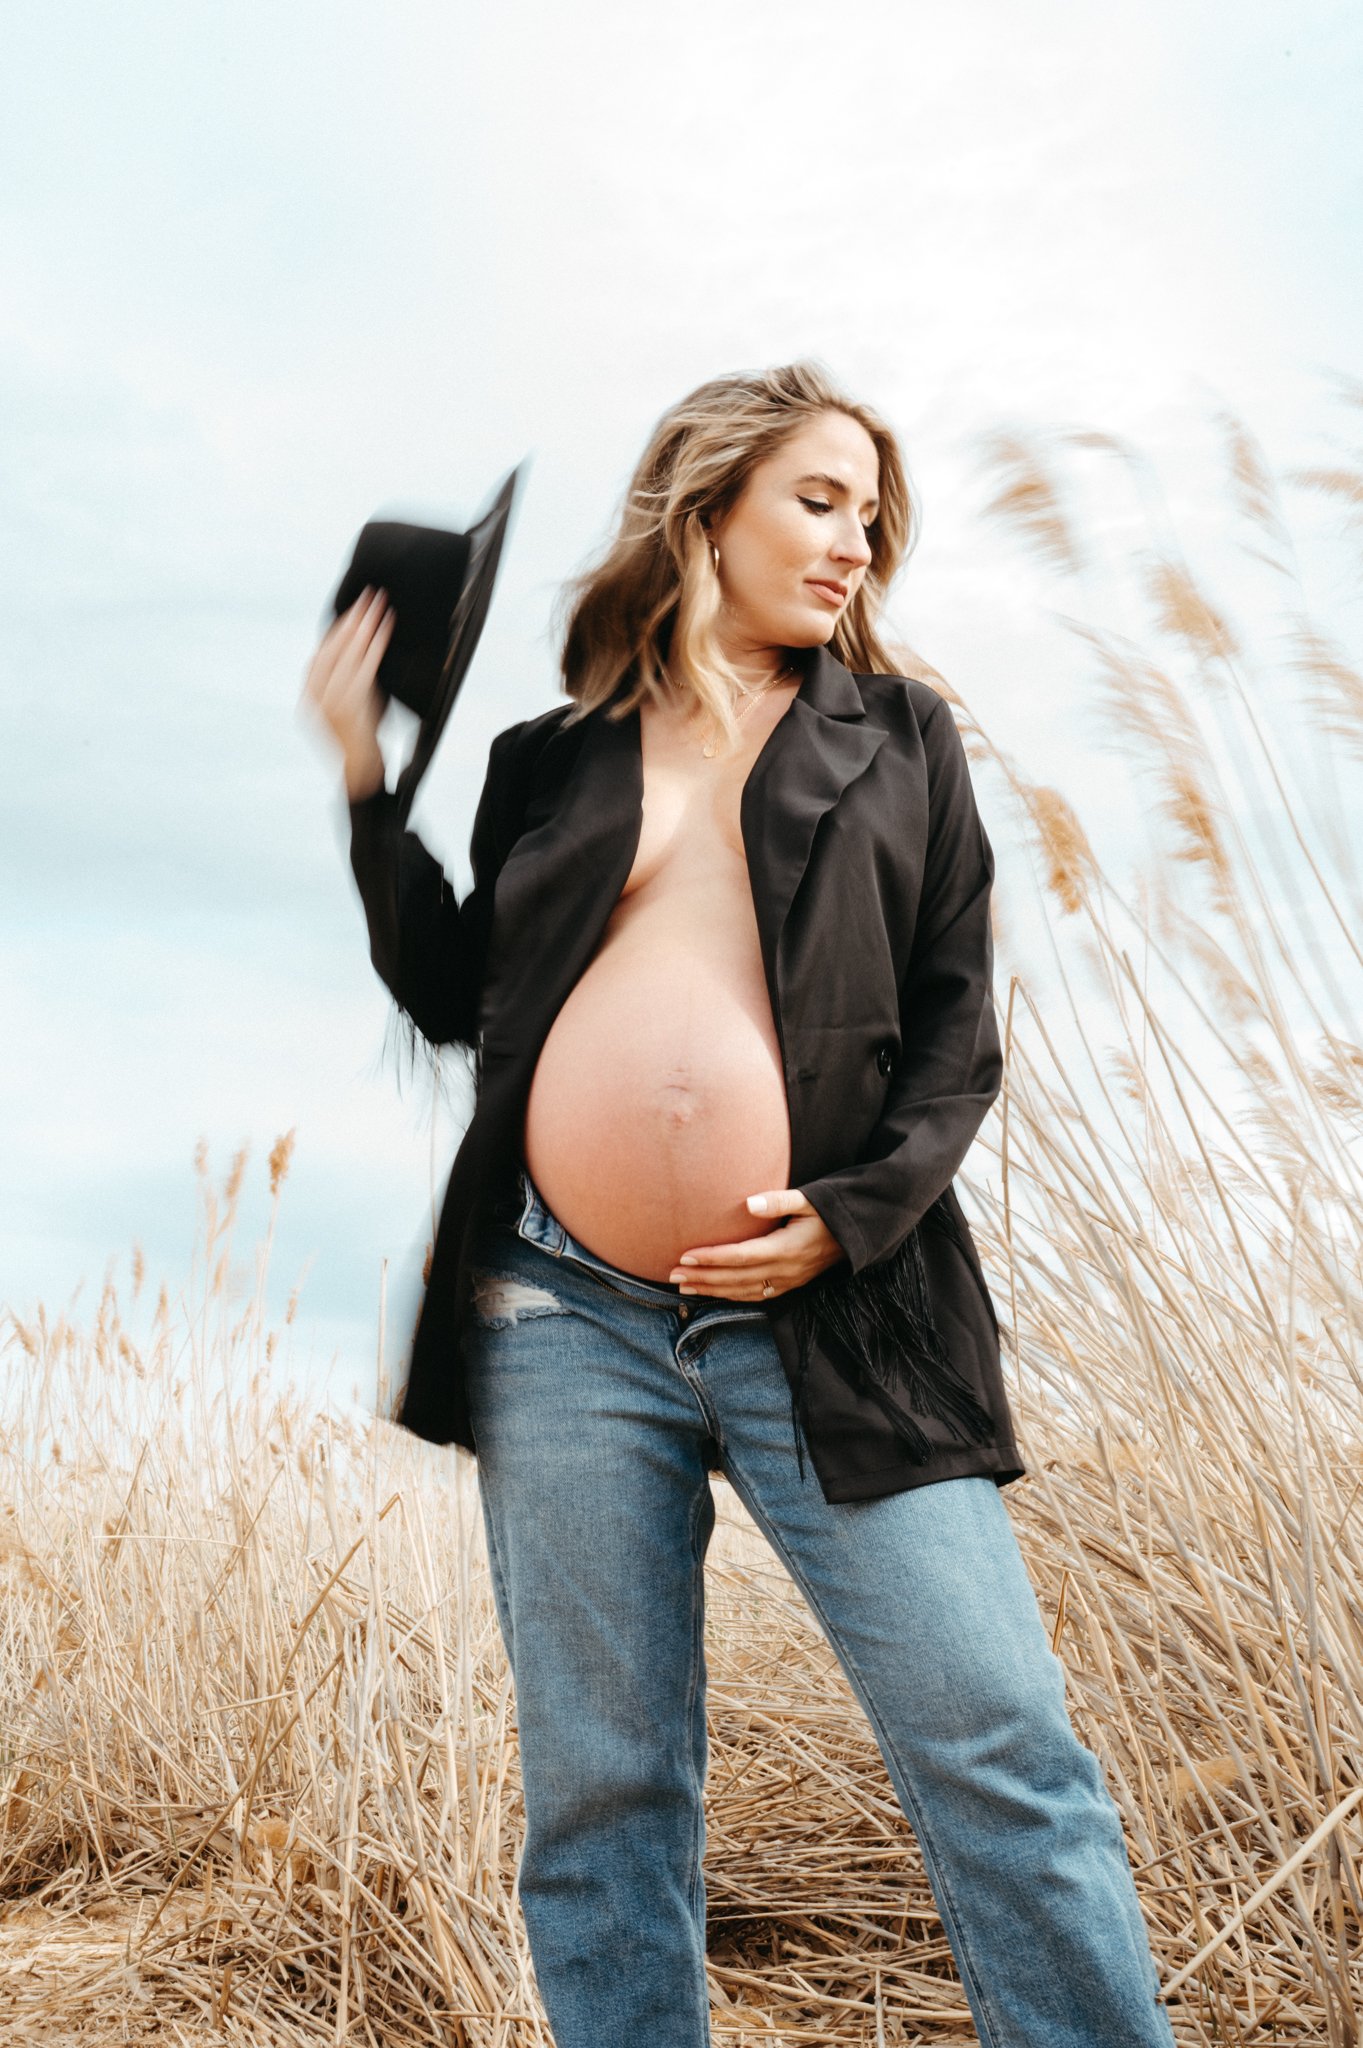
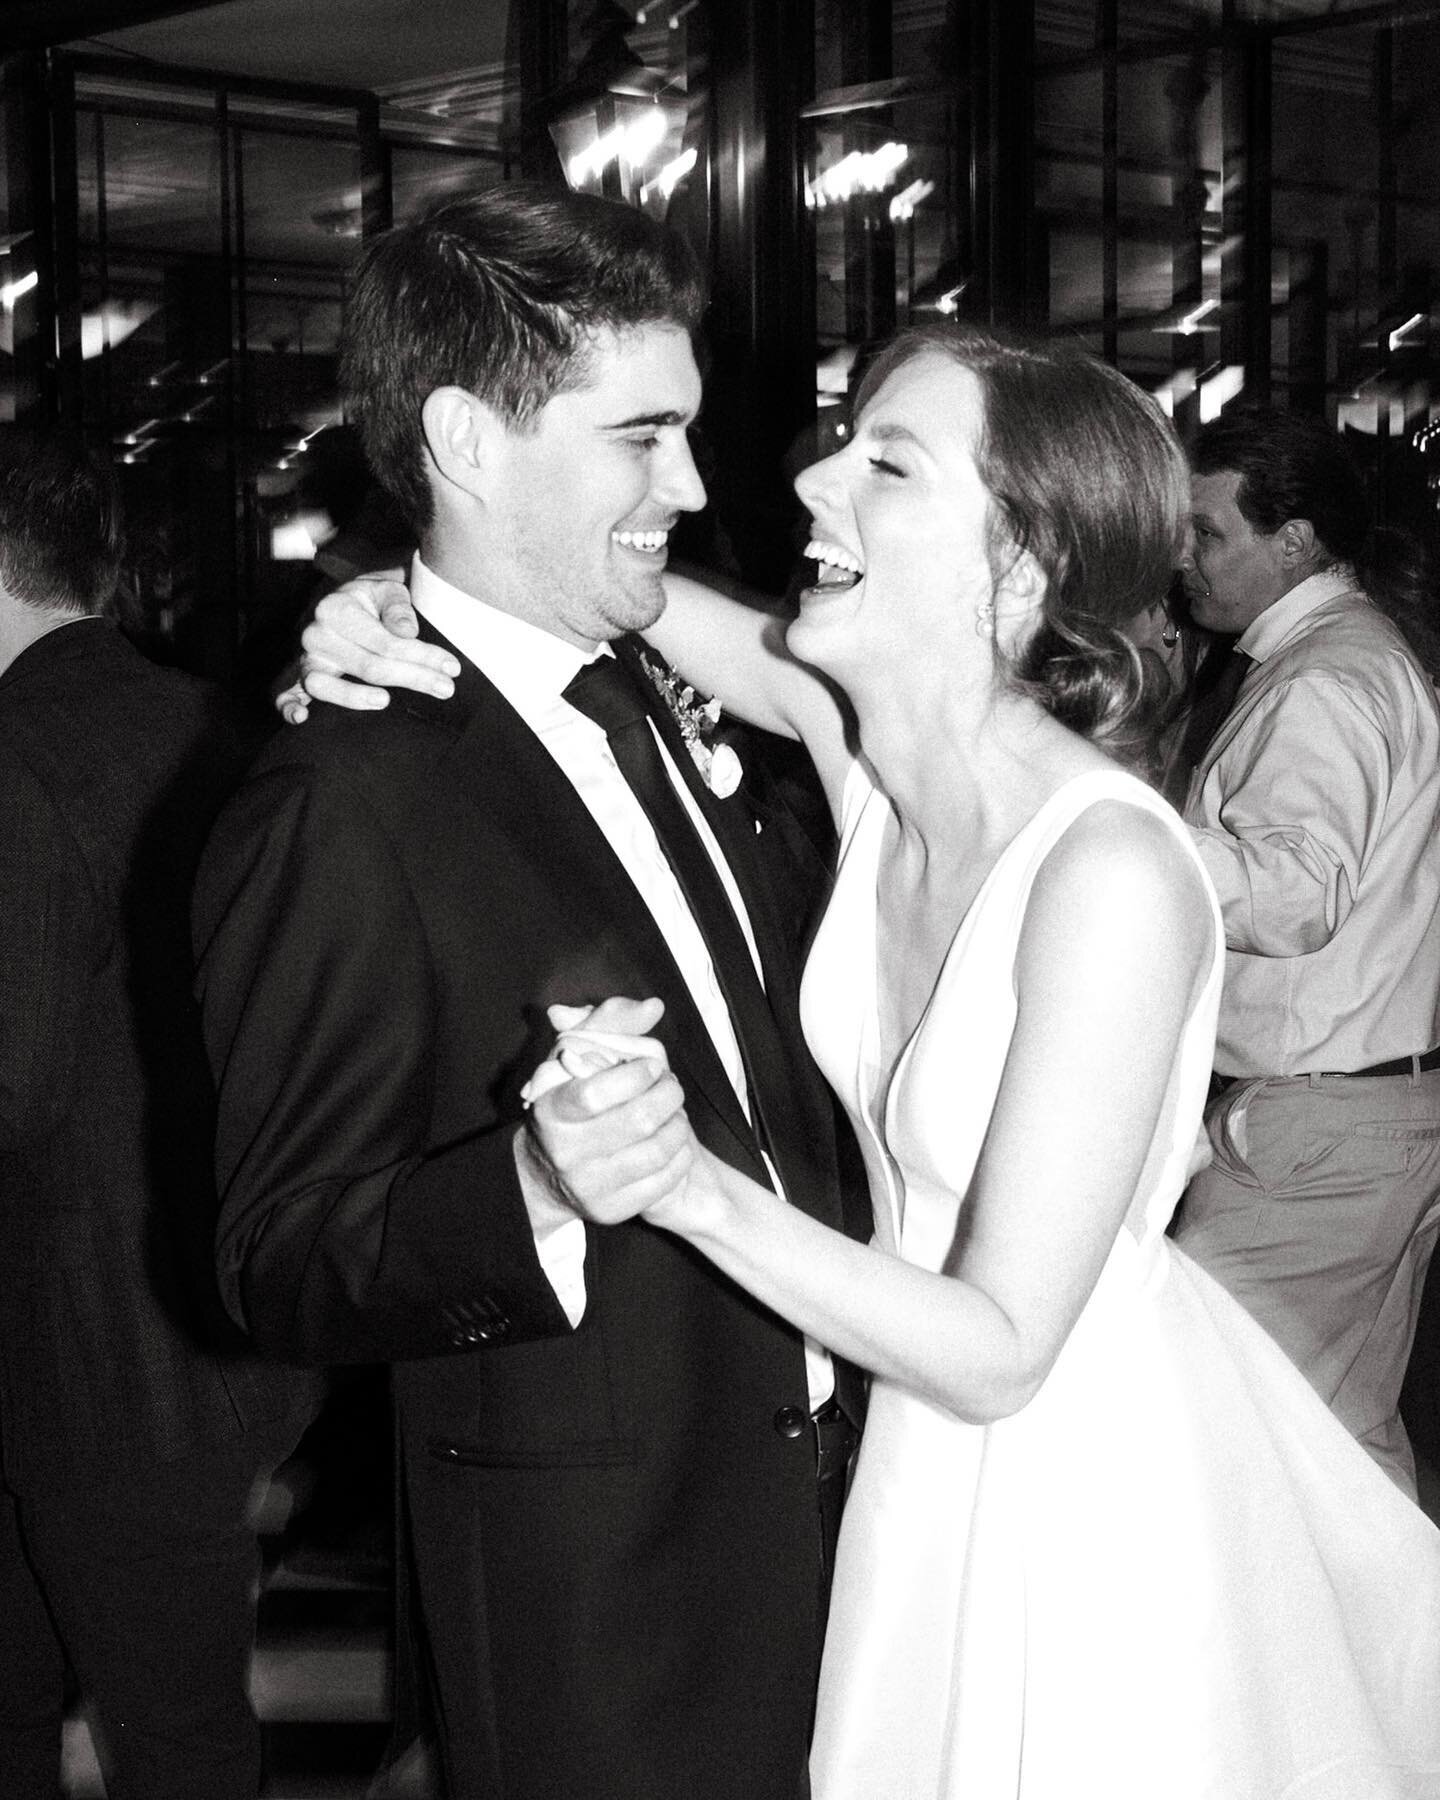
/An animated GIF is a file which contains a number of images or frames. The images or frames are in a specific order, which conveys the animation. I love incorporating GIFs into my shooting because of the storytelling element they deliver.
Here’s how to create a GIF in Photoshop:
1. Get outside and shoot. I use the continuous high mode on my Nikon camera so it takes a bunch of photographs back to back very quickly.
2. Edit the images in Lightroom. Make sure to edit each image exactly the same, cropping and all. You can easily do this by selecting the first image you edited, hold down the command button if you have a Mac, and then while holding down Command, click and select the other images you’ll use in your GIF.
3. Export. Export the files web sized on your desktop in a folder labeled GIF.
4. Upload. In Photoshop select File / Scripts / Load Files Into Stack. Find your files in the GIF folder you created. Check the box ‘Attempt to automatically align source images’. This will help if you weren’t using a tripod. Photoshop does a best guess to align the images correctly and gets it right majority of the time. If you find that you don’t like the way it aligned them, just leave that box unchecked. Click OK.
5. Open the Timeline window. This can be found via Window / Animation.
6. In the Timeline window, click the menu icon on the top right.
7. Select “Make Frames From Layers.”
8. Under each frame, select how long it should appear for before switching to the next frame. I usually select all and change them all to the same time. I find .2 is a great place to start.
9. Preview your GIF by pressing the play icon. Change the time as needed.
10. Crop the GIF for web usage. Usually 1500 pixel width by 1050 pixel height for your website.
11. Save your GIF. File / Save for Web and Devices.
