5 Tips to Enhance Photos Using Lightroom Brushes
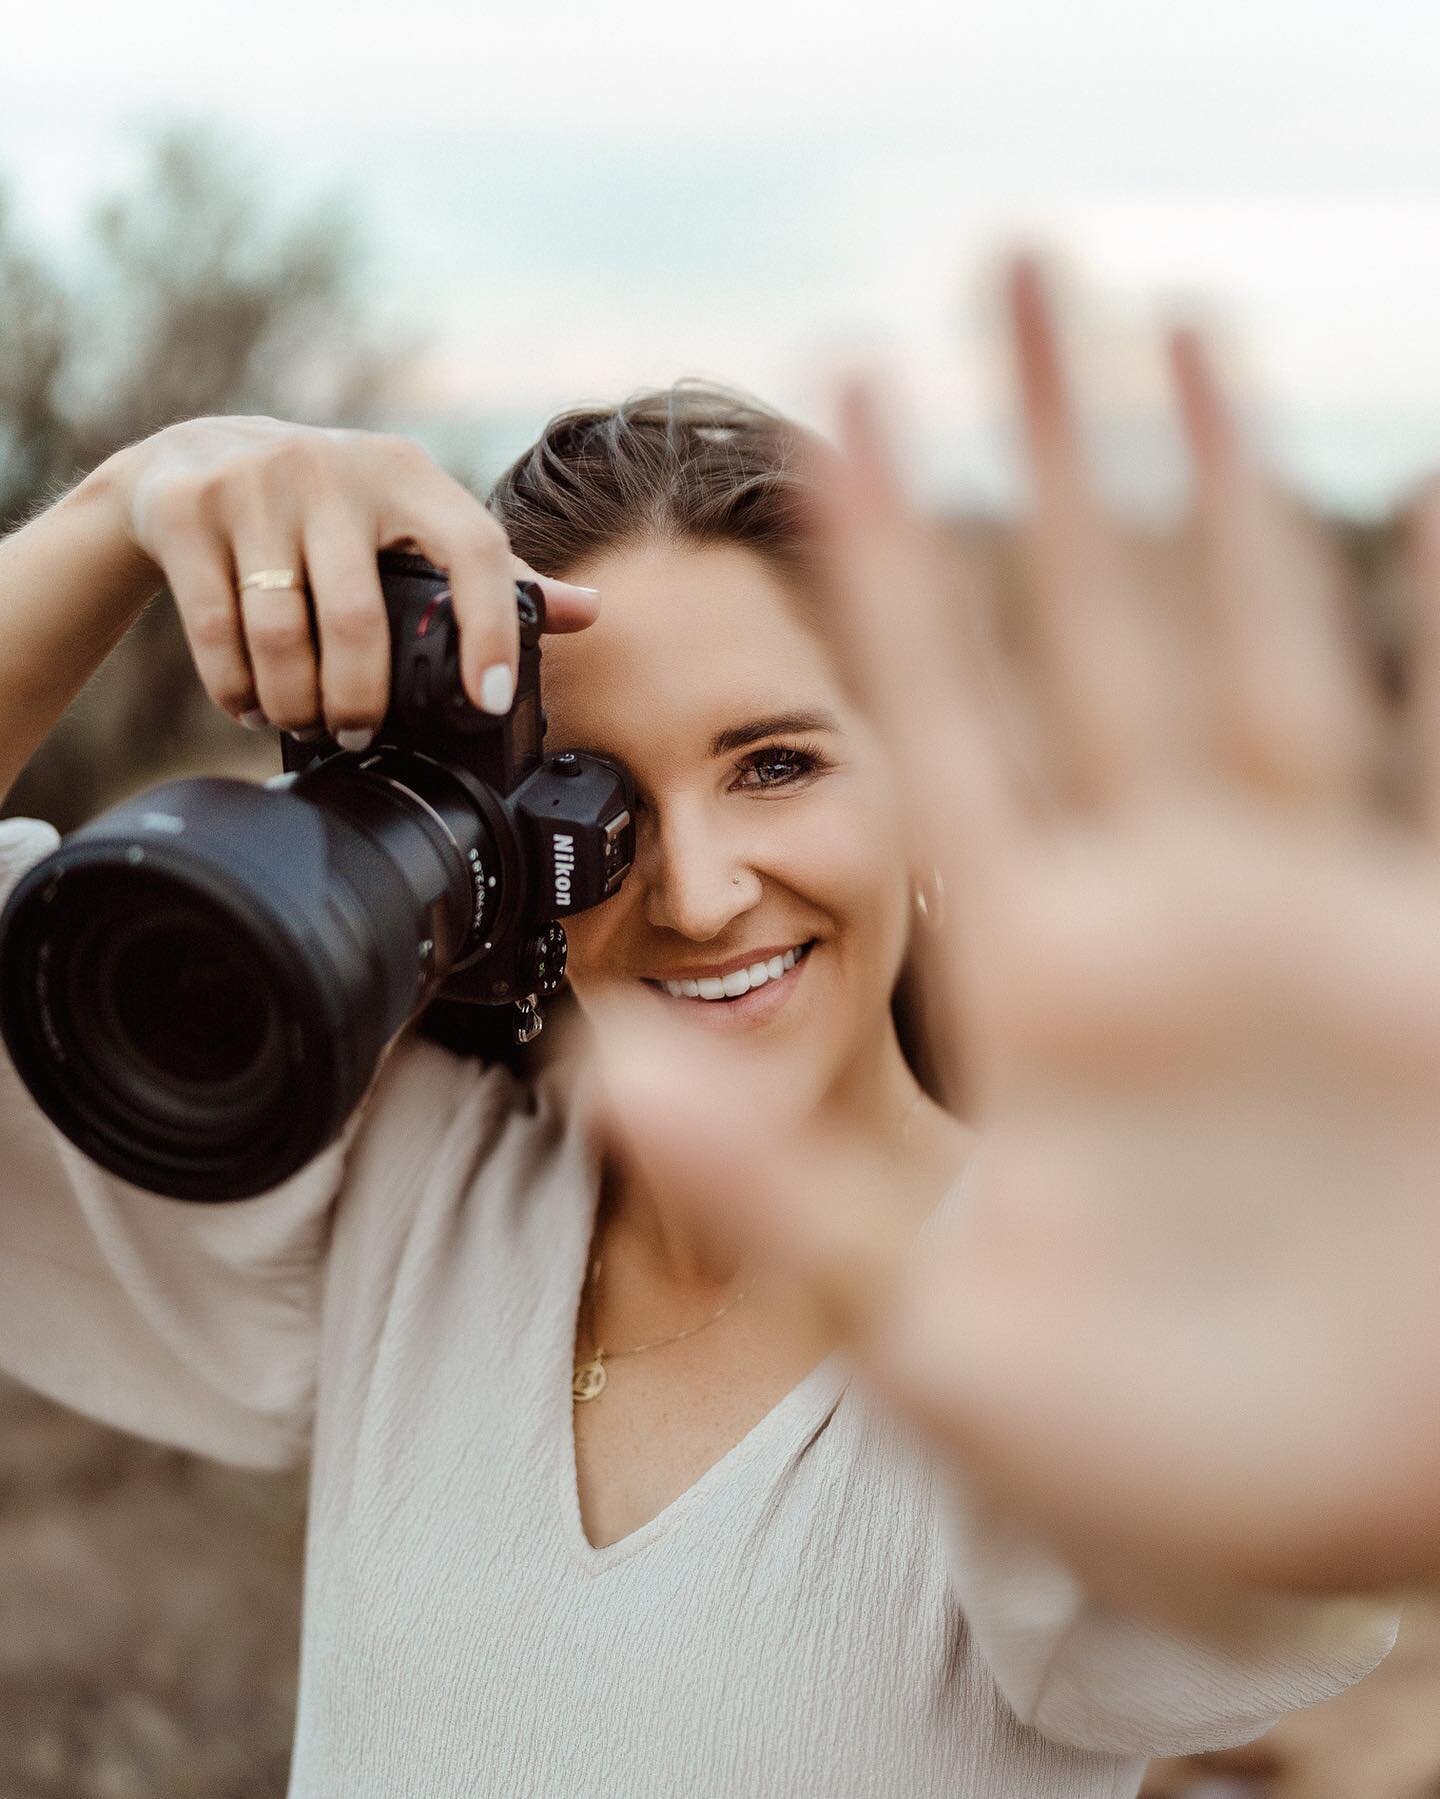
/Are you looking for a way to enhance your editing but not sure what that next step could be? Presets can be great but sometimes the change you need is to use Lightroom brushes. Lightroom brushes are used to quickly take your photos from good to great. I’ve even created my own RWP Lightroom Brush Pack to help you out! This set includes 24 brushes that can be used as brush, gradient or radial filters. They were created to easily enhance or correct any part of your image, from skies to skin tones.
Here are some things you could do with the RWP Brush Pack:
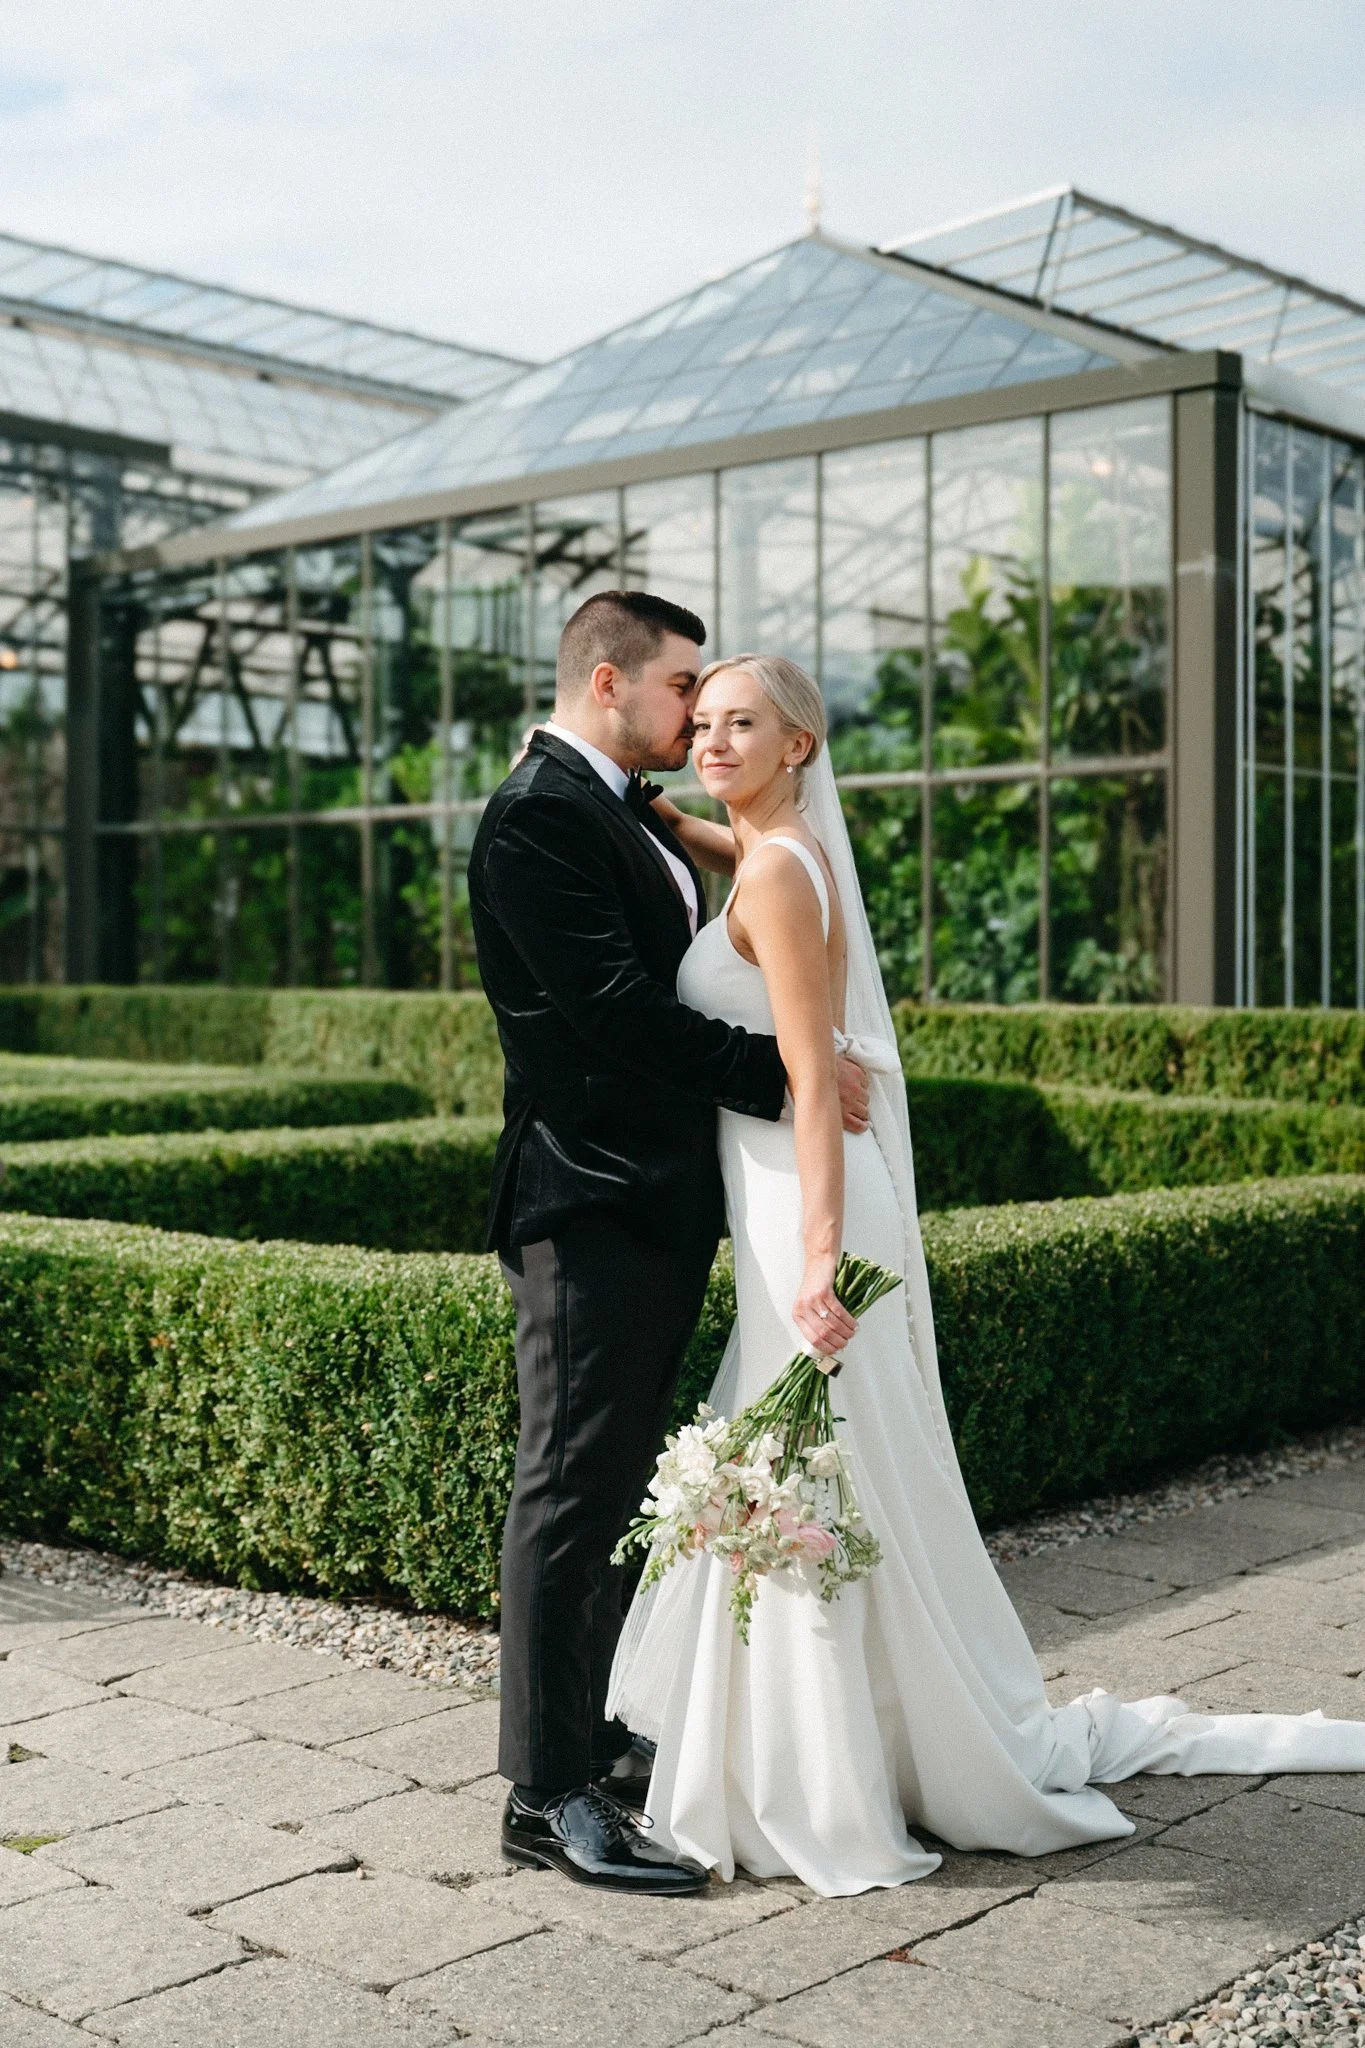
Darken the sky for more dramatic storytelling: One thing we can’t control as photographers is the weather and sky conditions when photographing a session. Maybe the sky is a bit too bright for the vibe you’re going for. Try out darkening the sky to create a more dramatic effect.
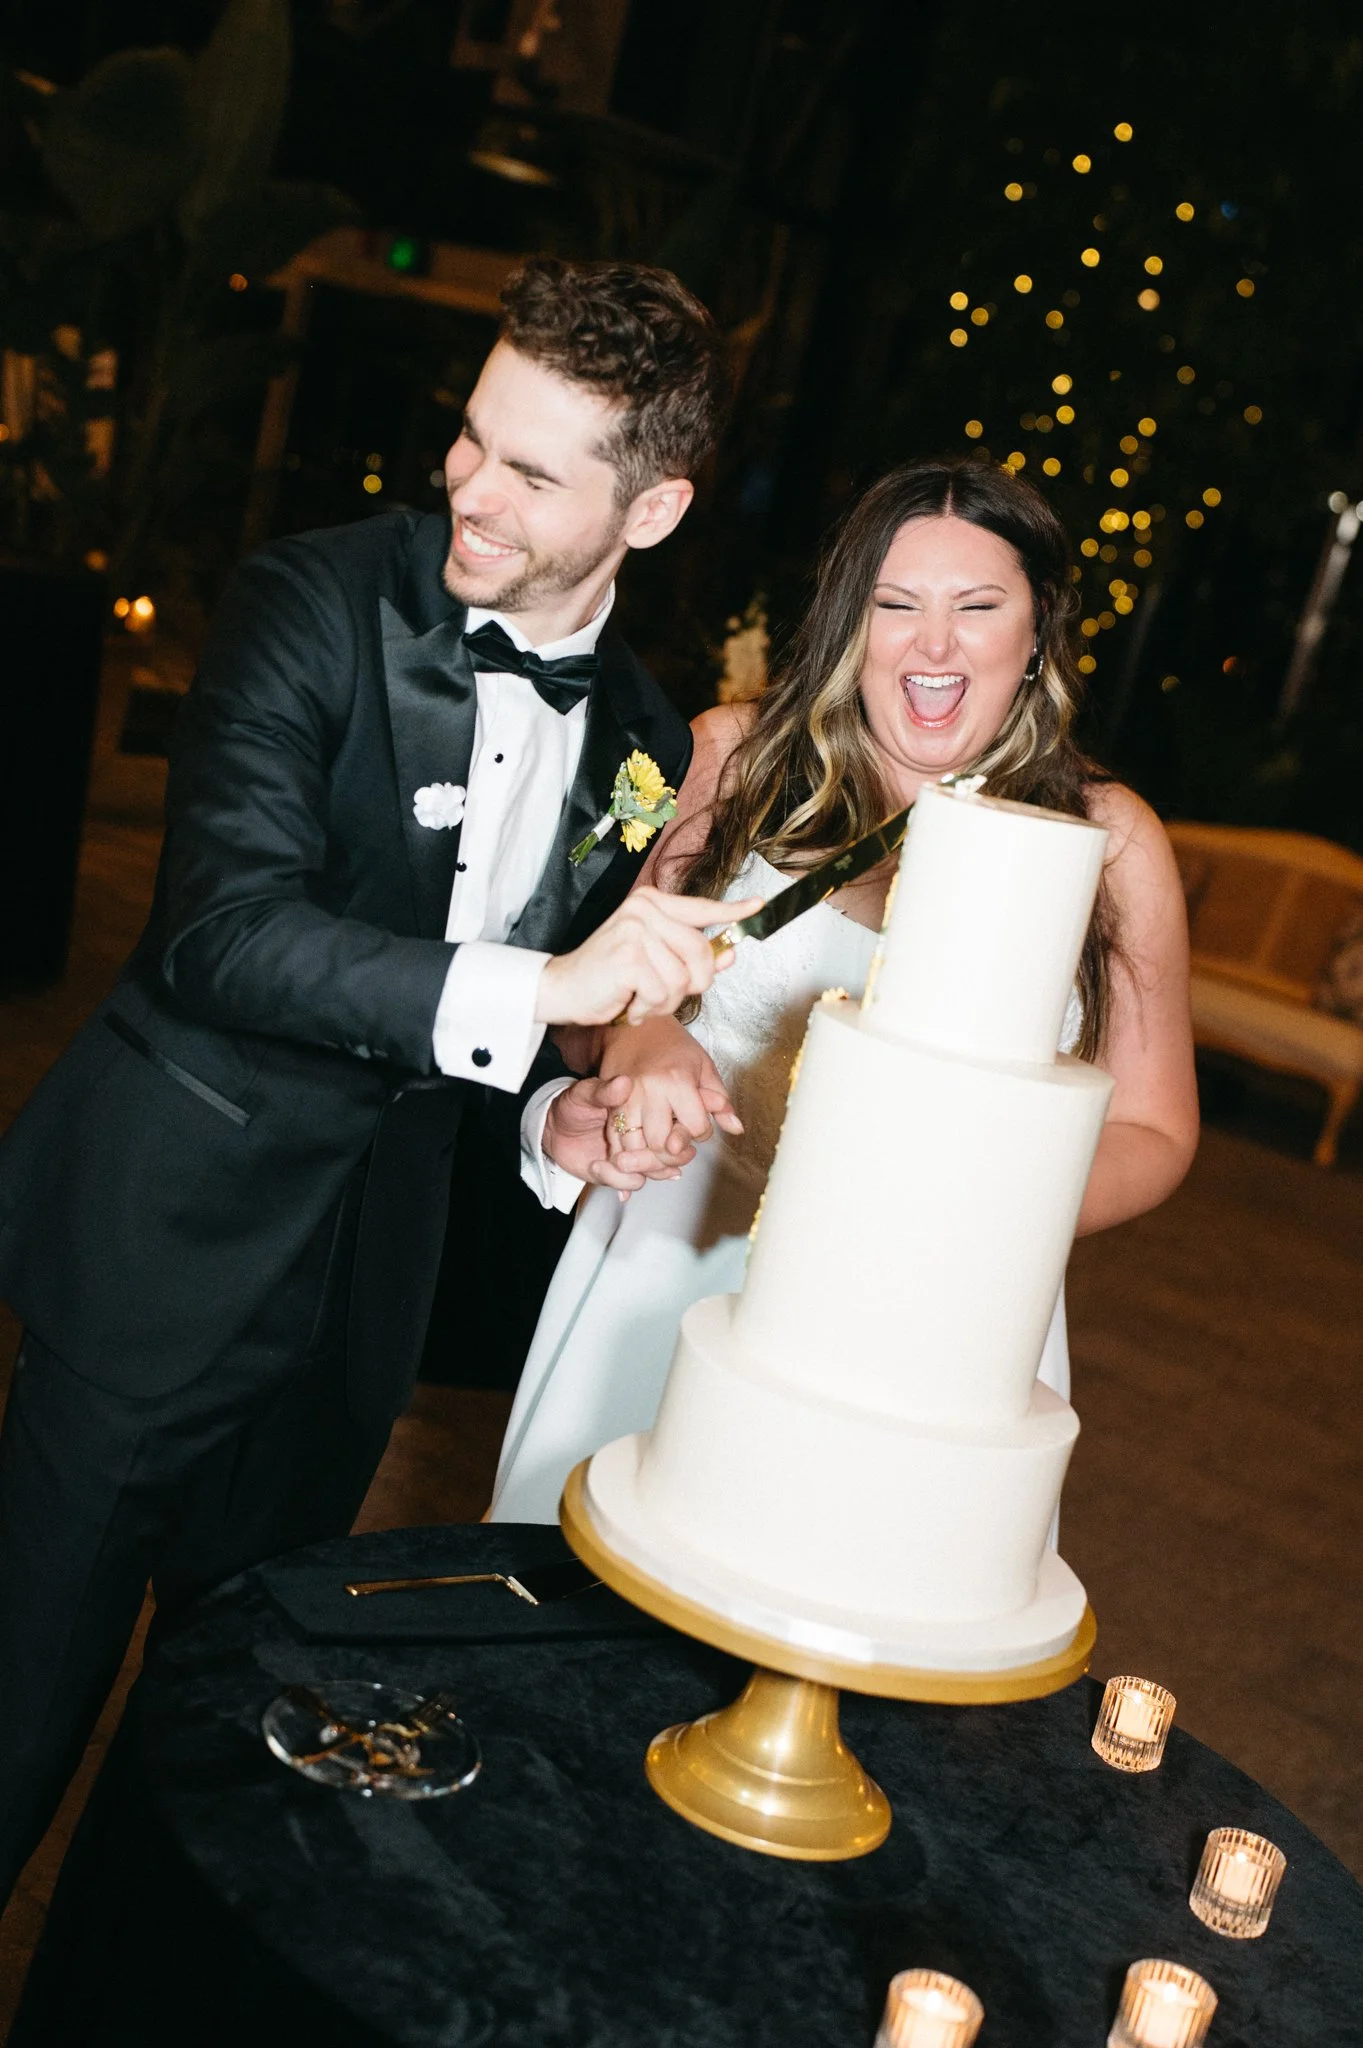
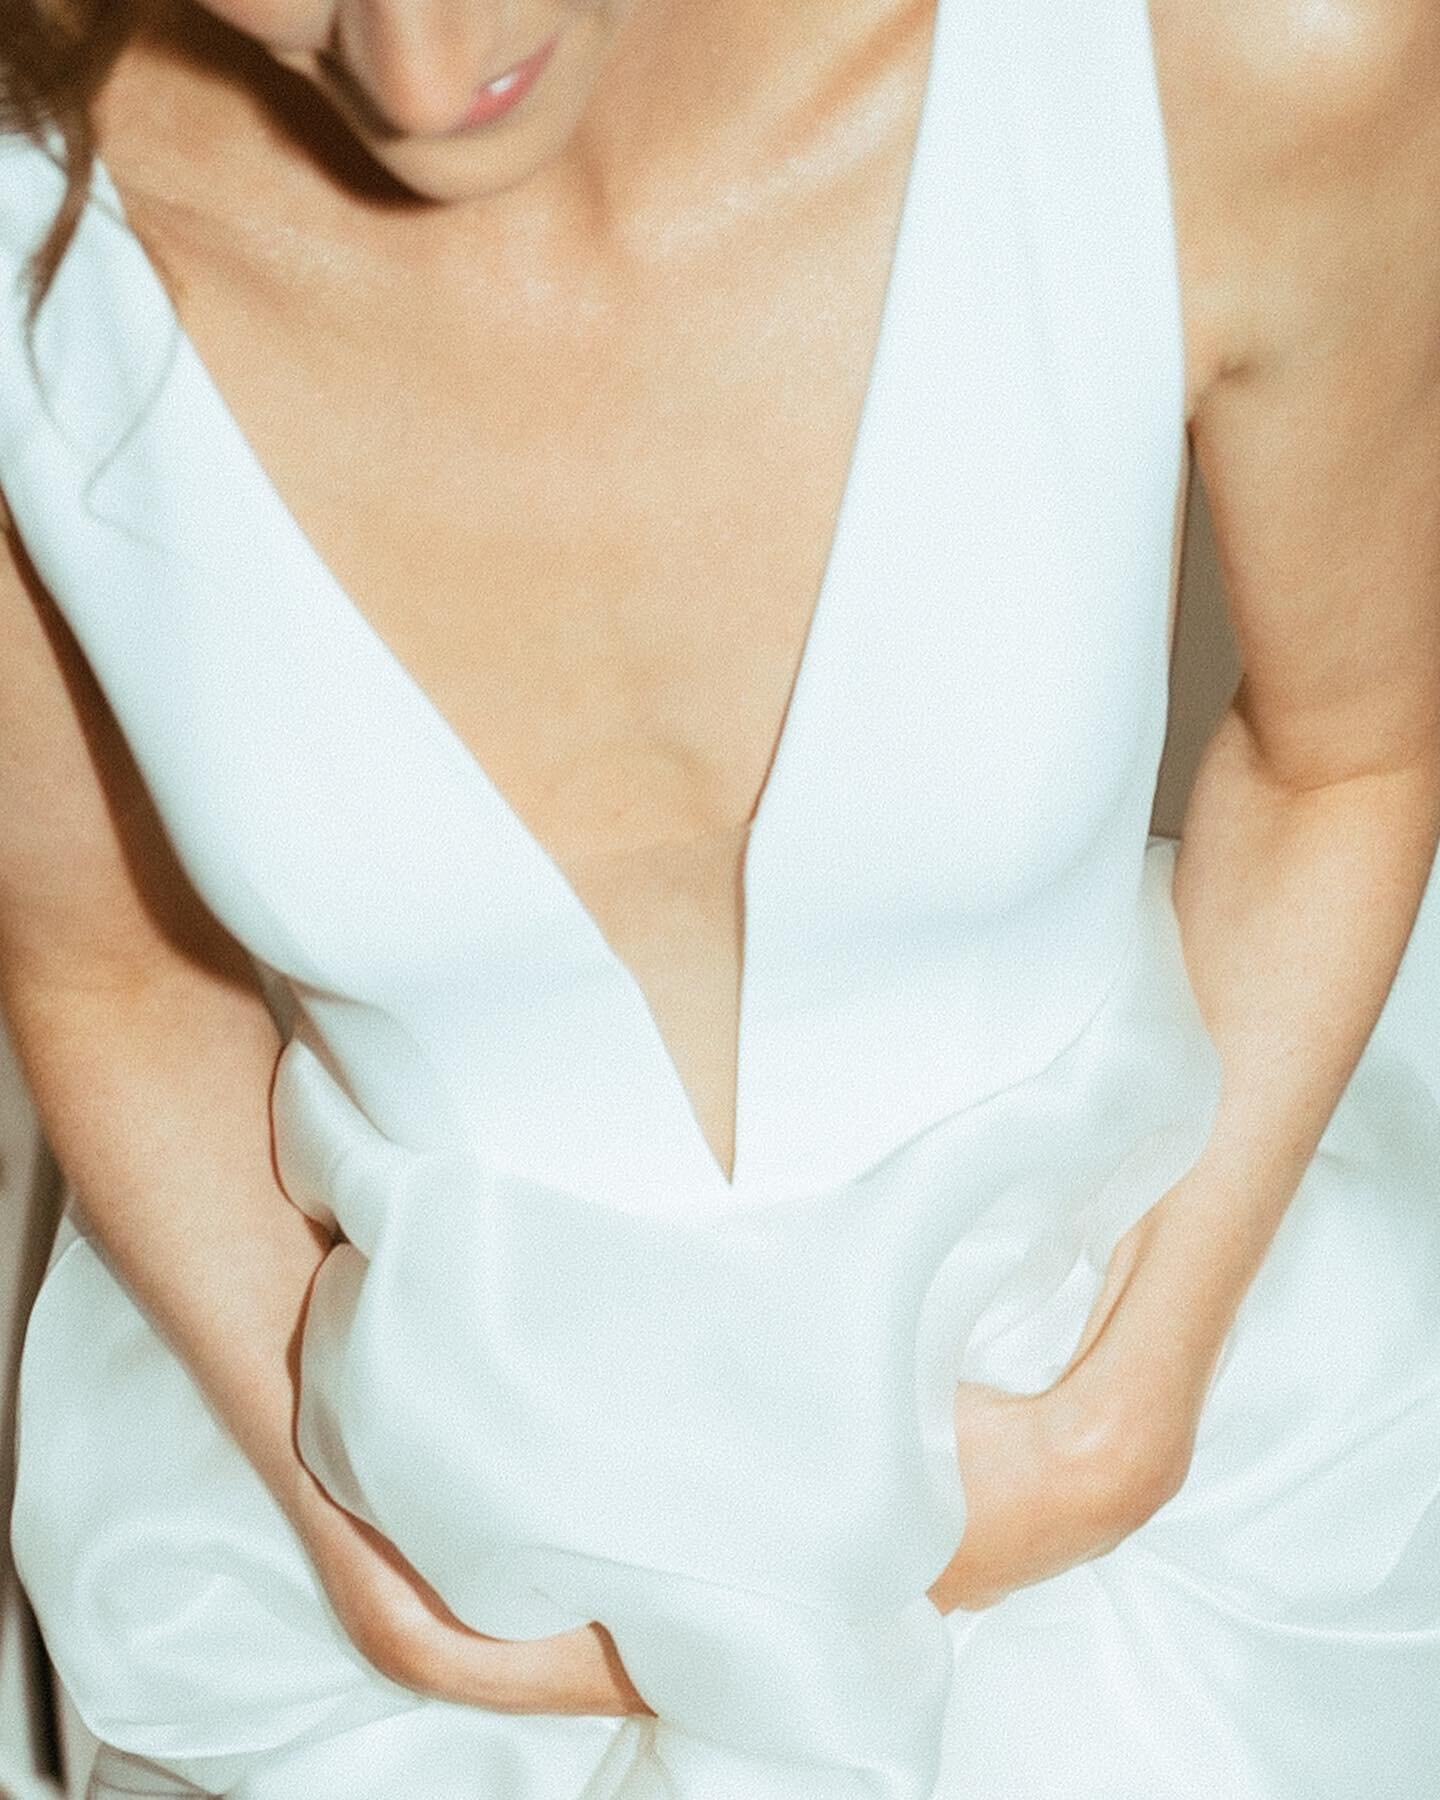
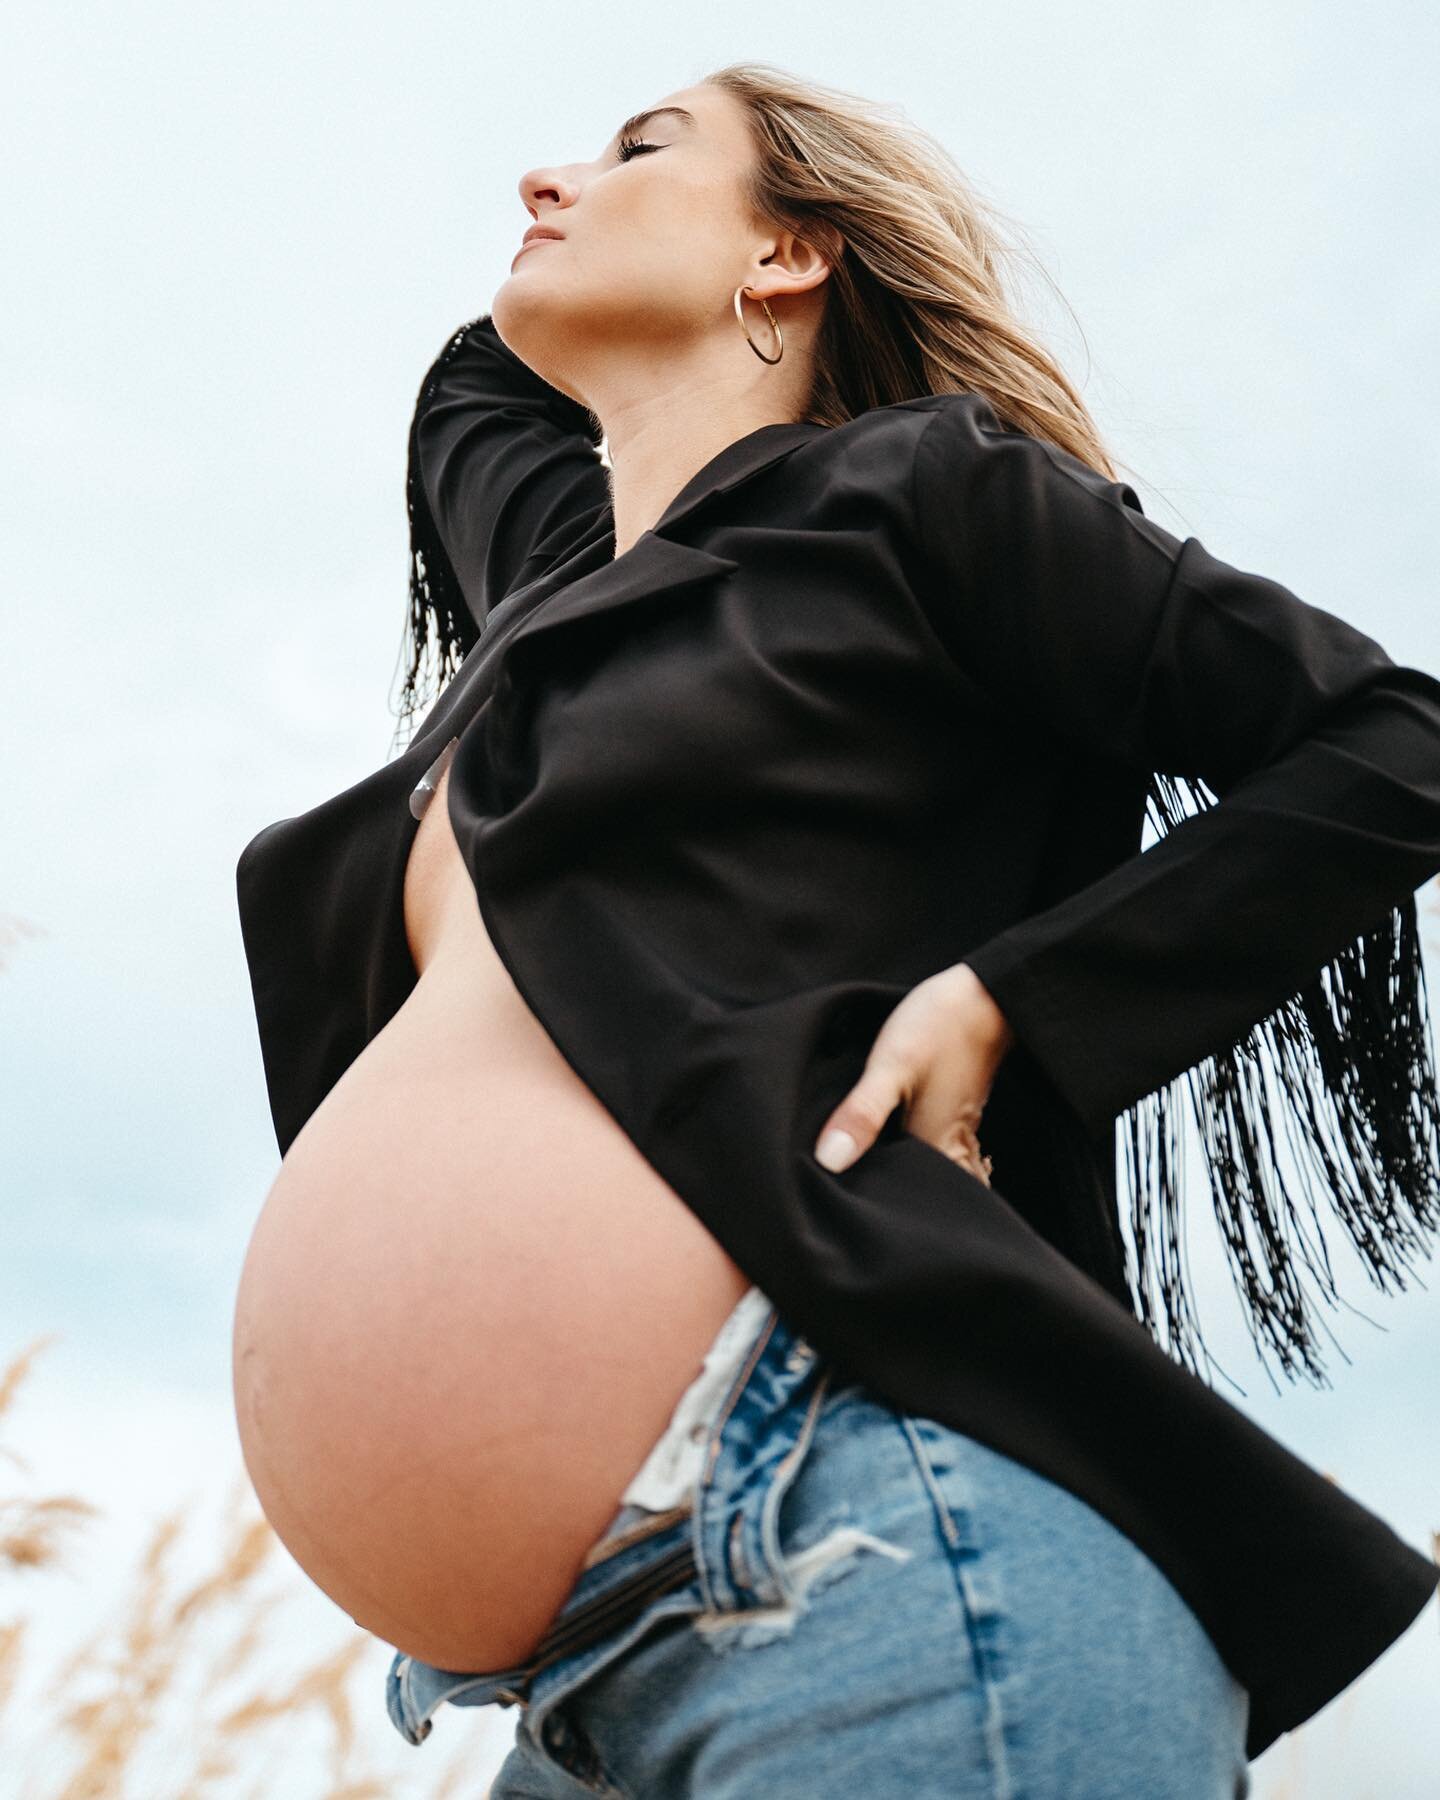
Smooth skin to soften blemishes: What client doesn’t want their skin to look smoother and brighter? My Brush Pack doesn’t do anything crazy but it does soften the skin a bit to give the best results in photos.
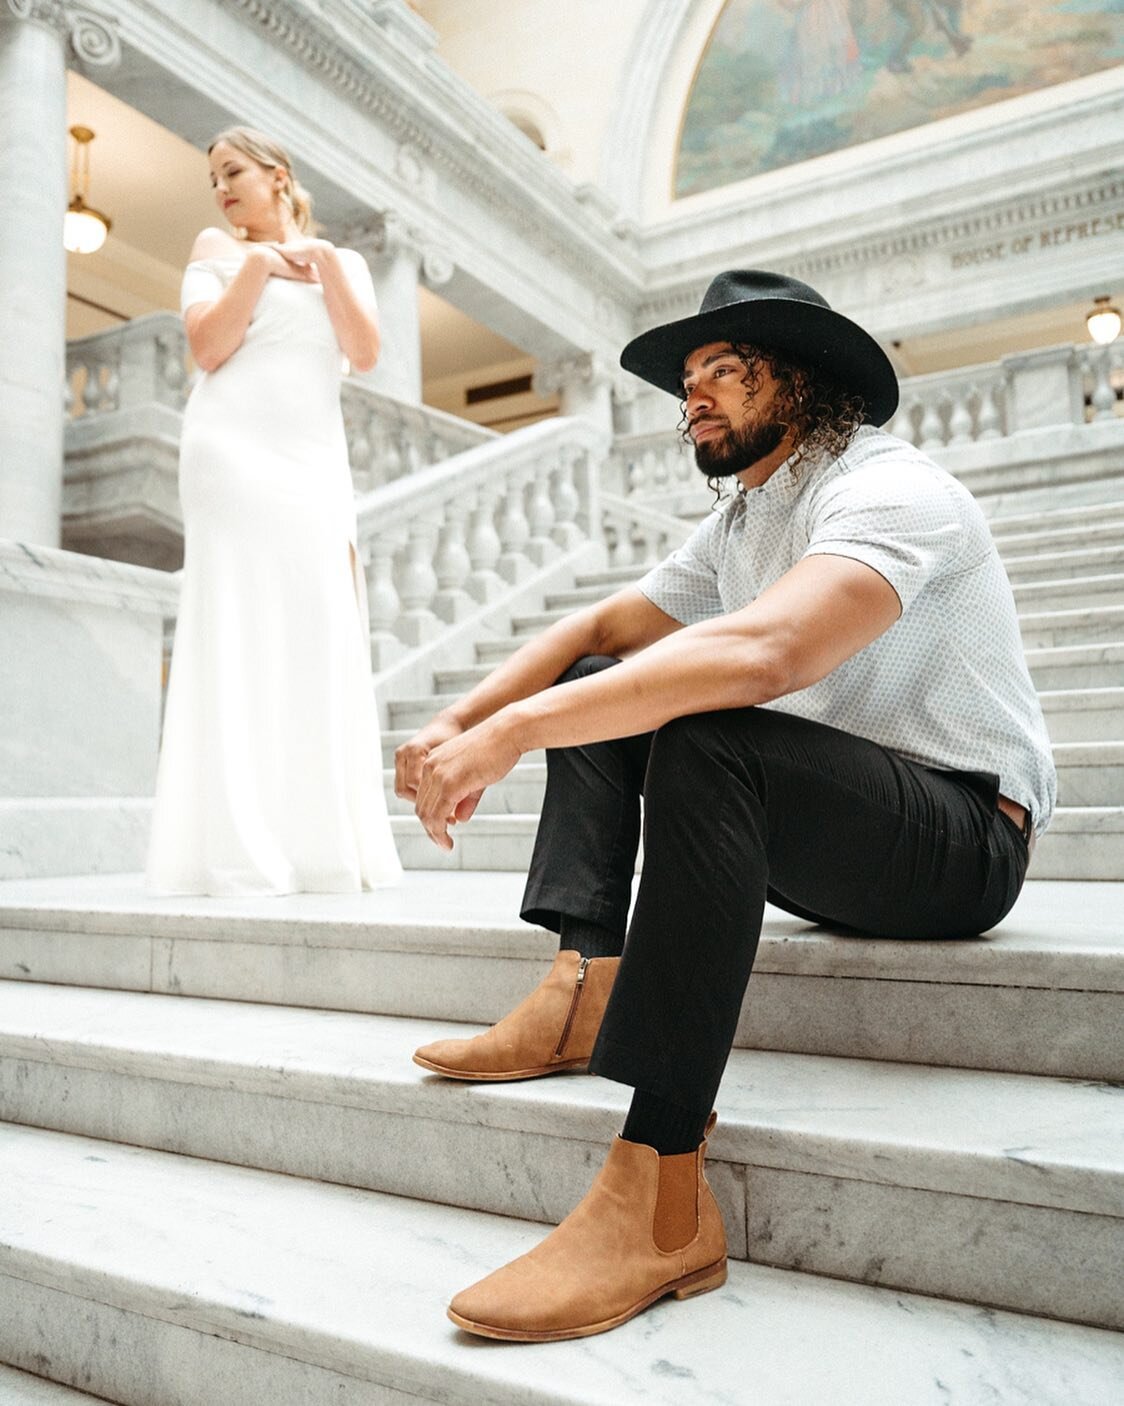
Correct orange skin for more true-to-life skin tones: Maybe the preset you’re using is starting to make your clients look a little more oompa loopma than you’d like, try out the Orange Skin Correction brush in my pack. This brings out more true-to-life skin tones to make your clients looks like their ideal self.
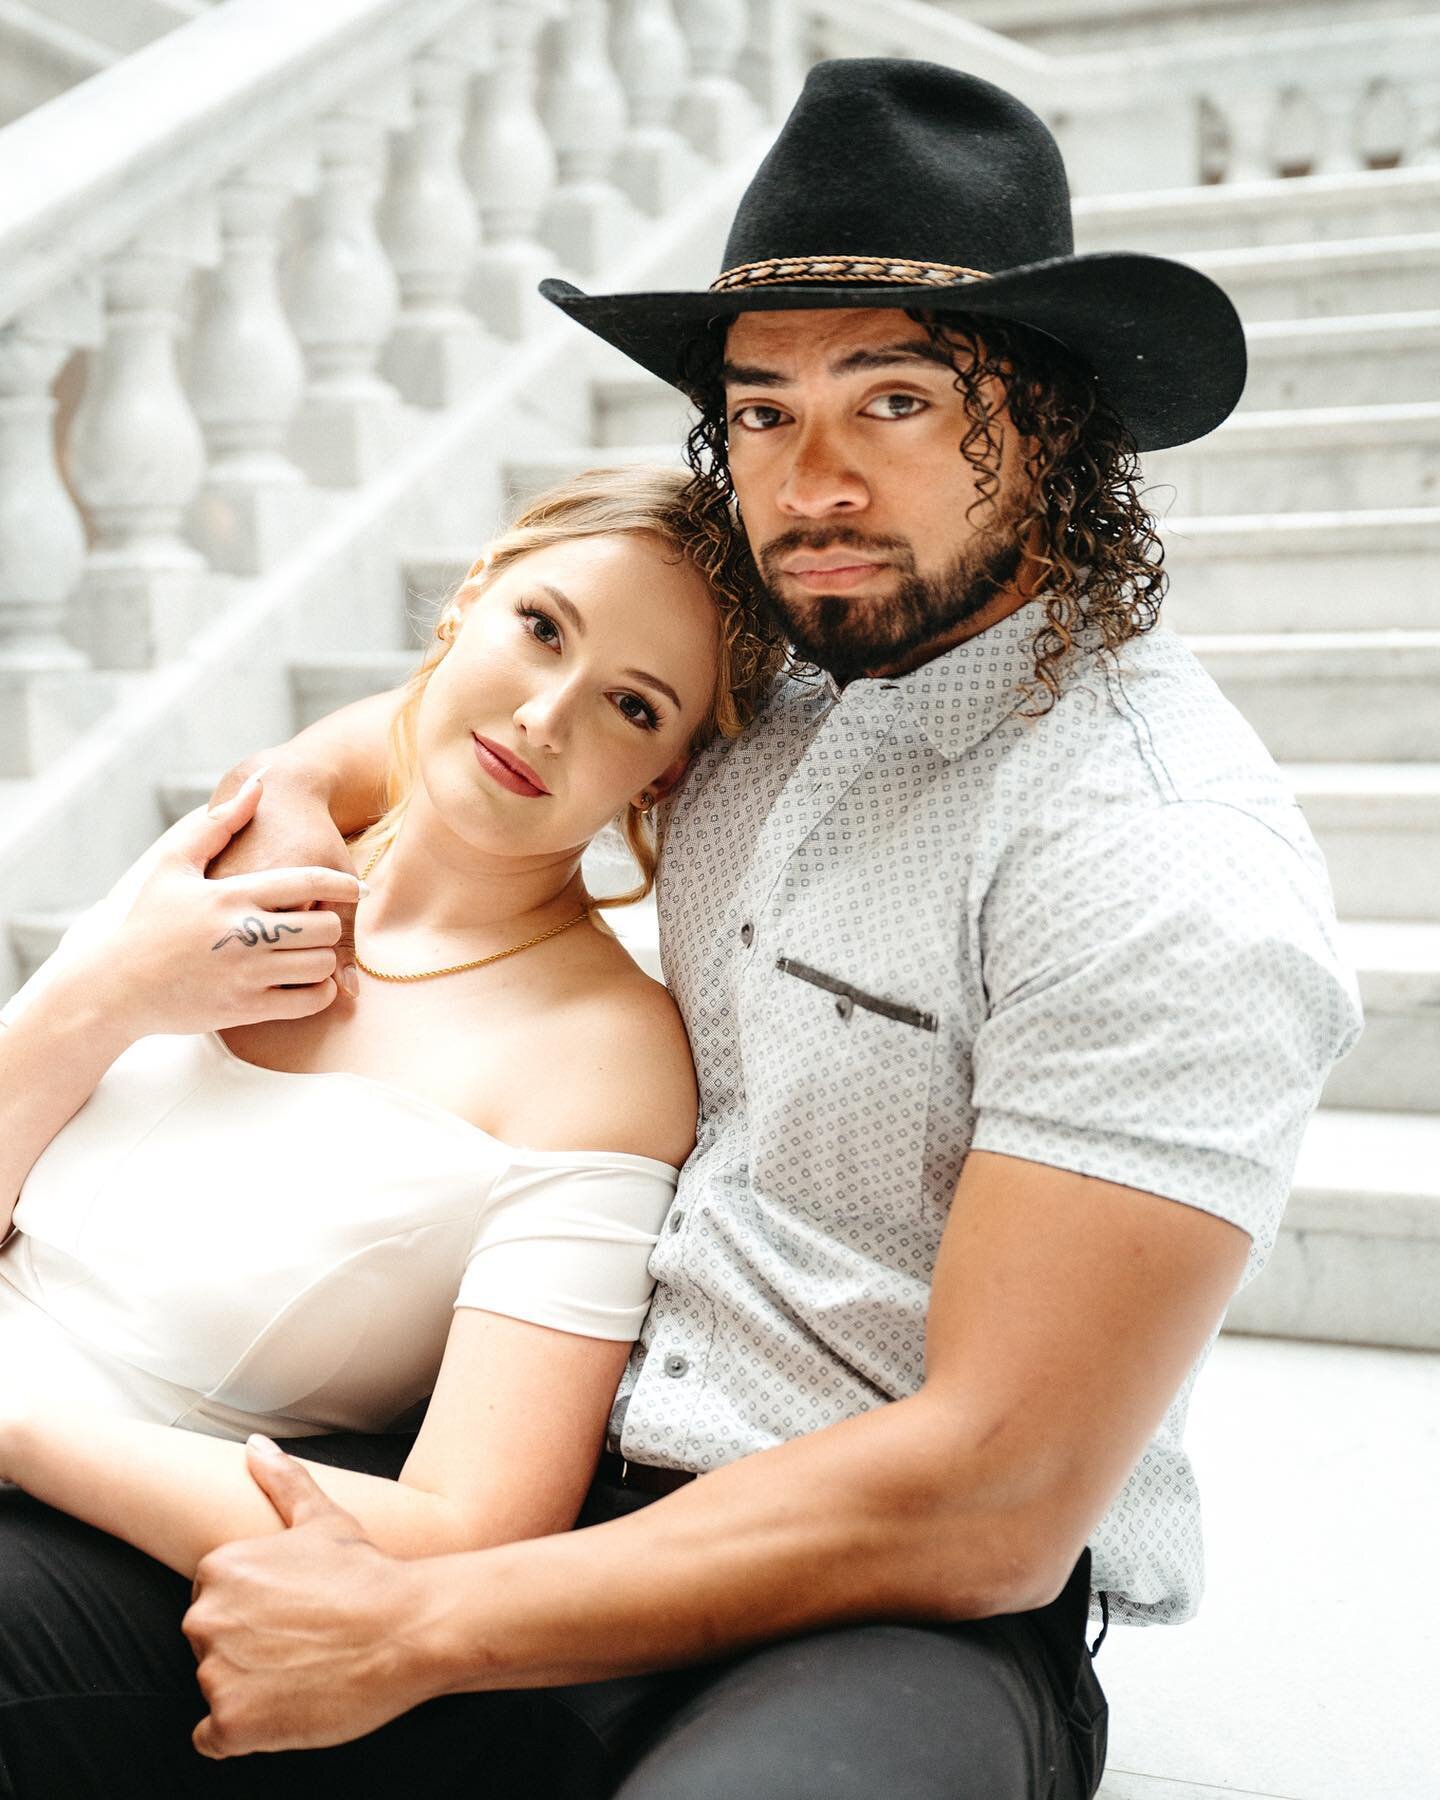
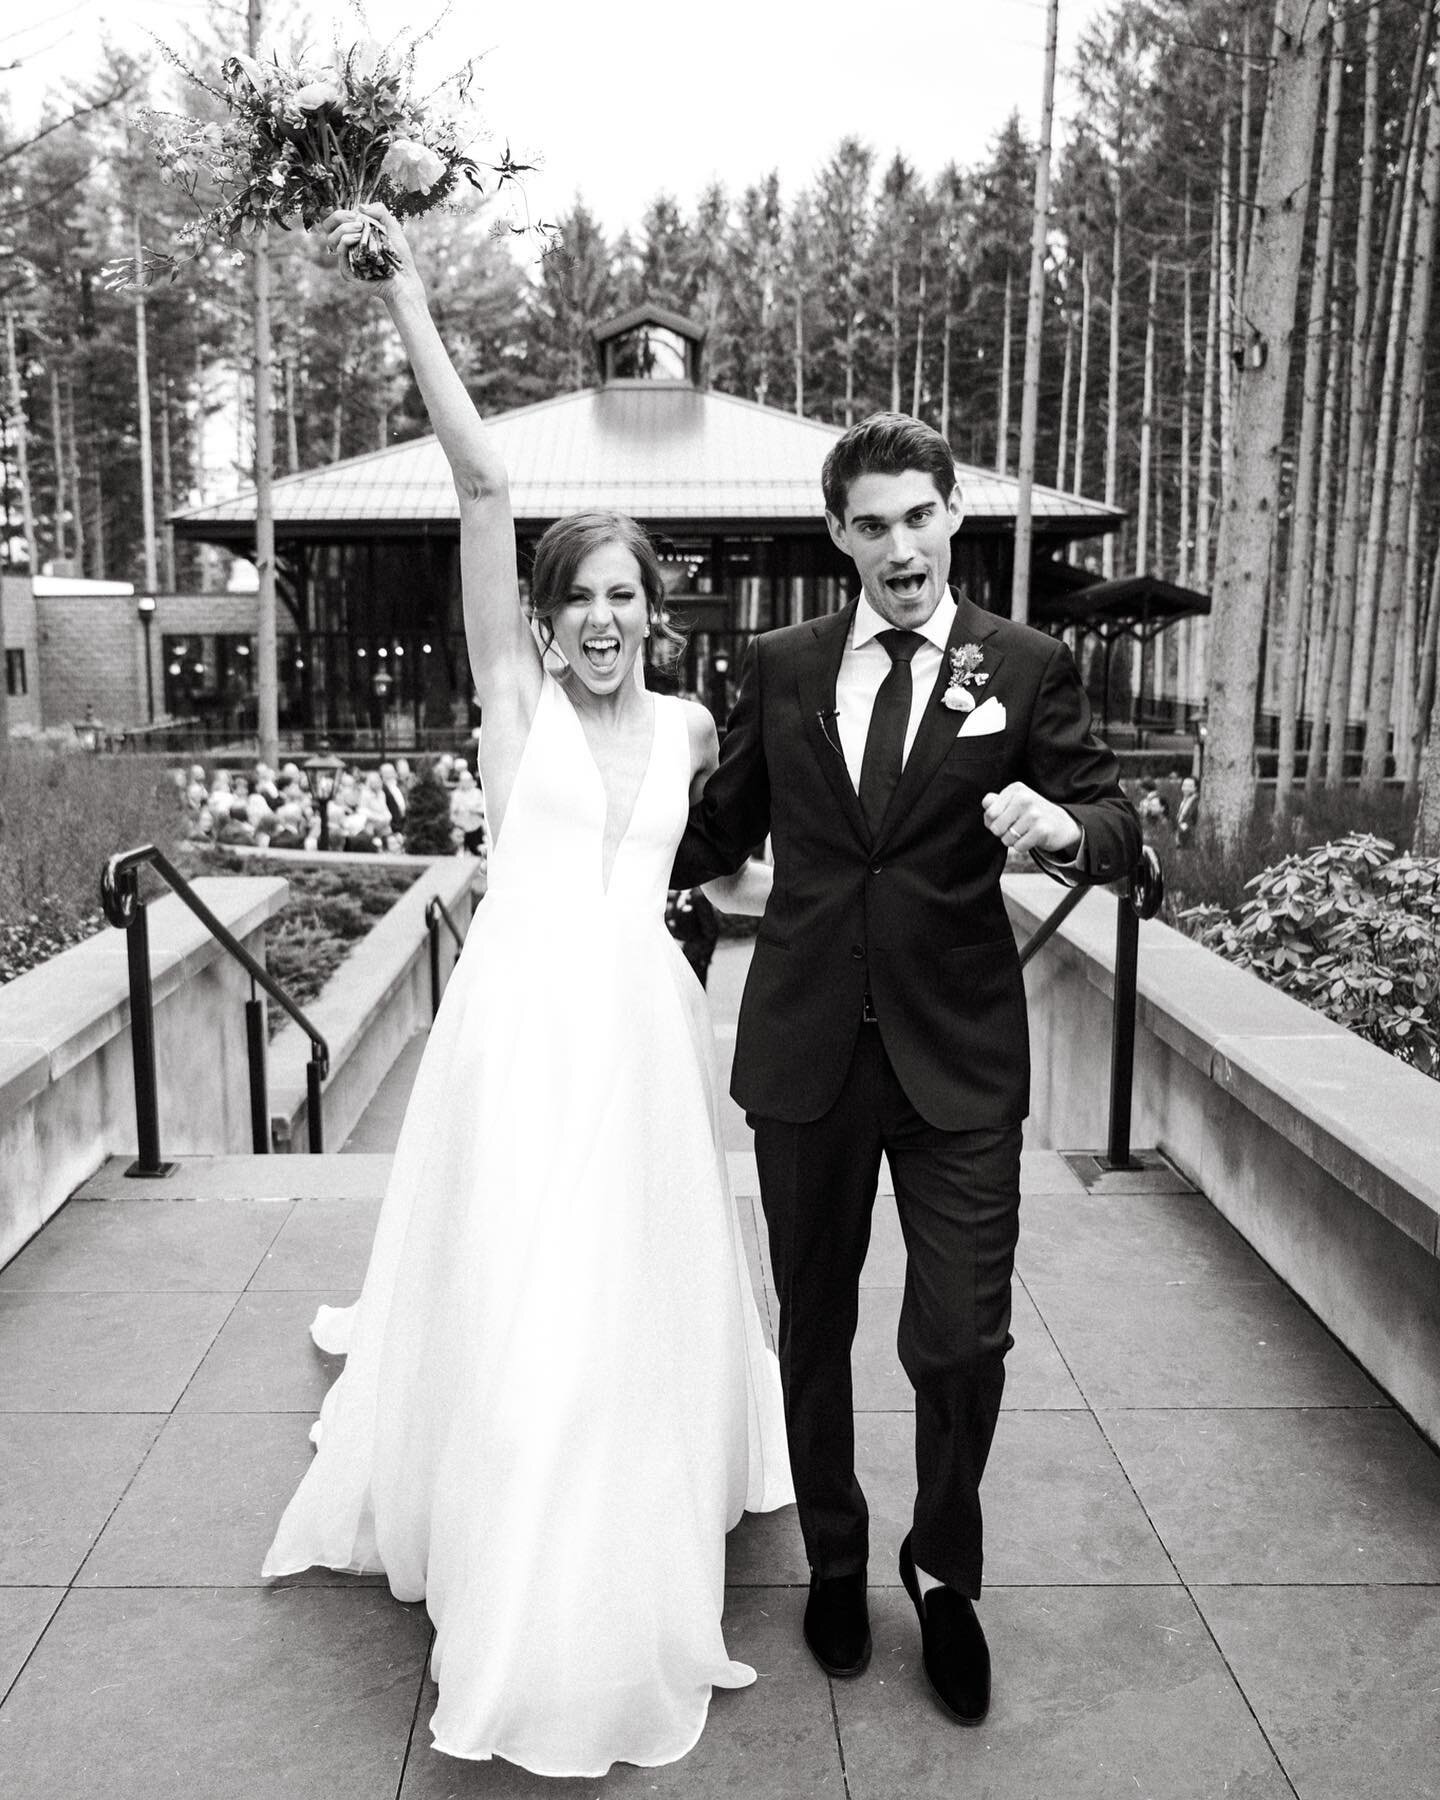
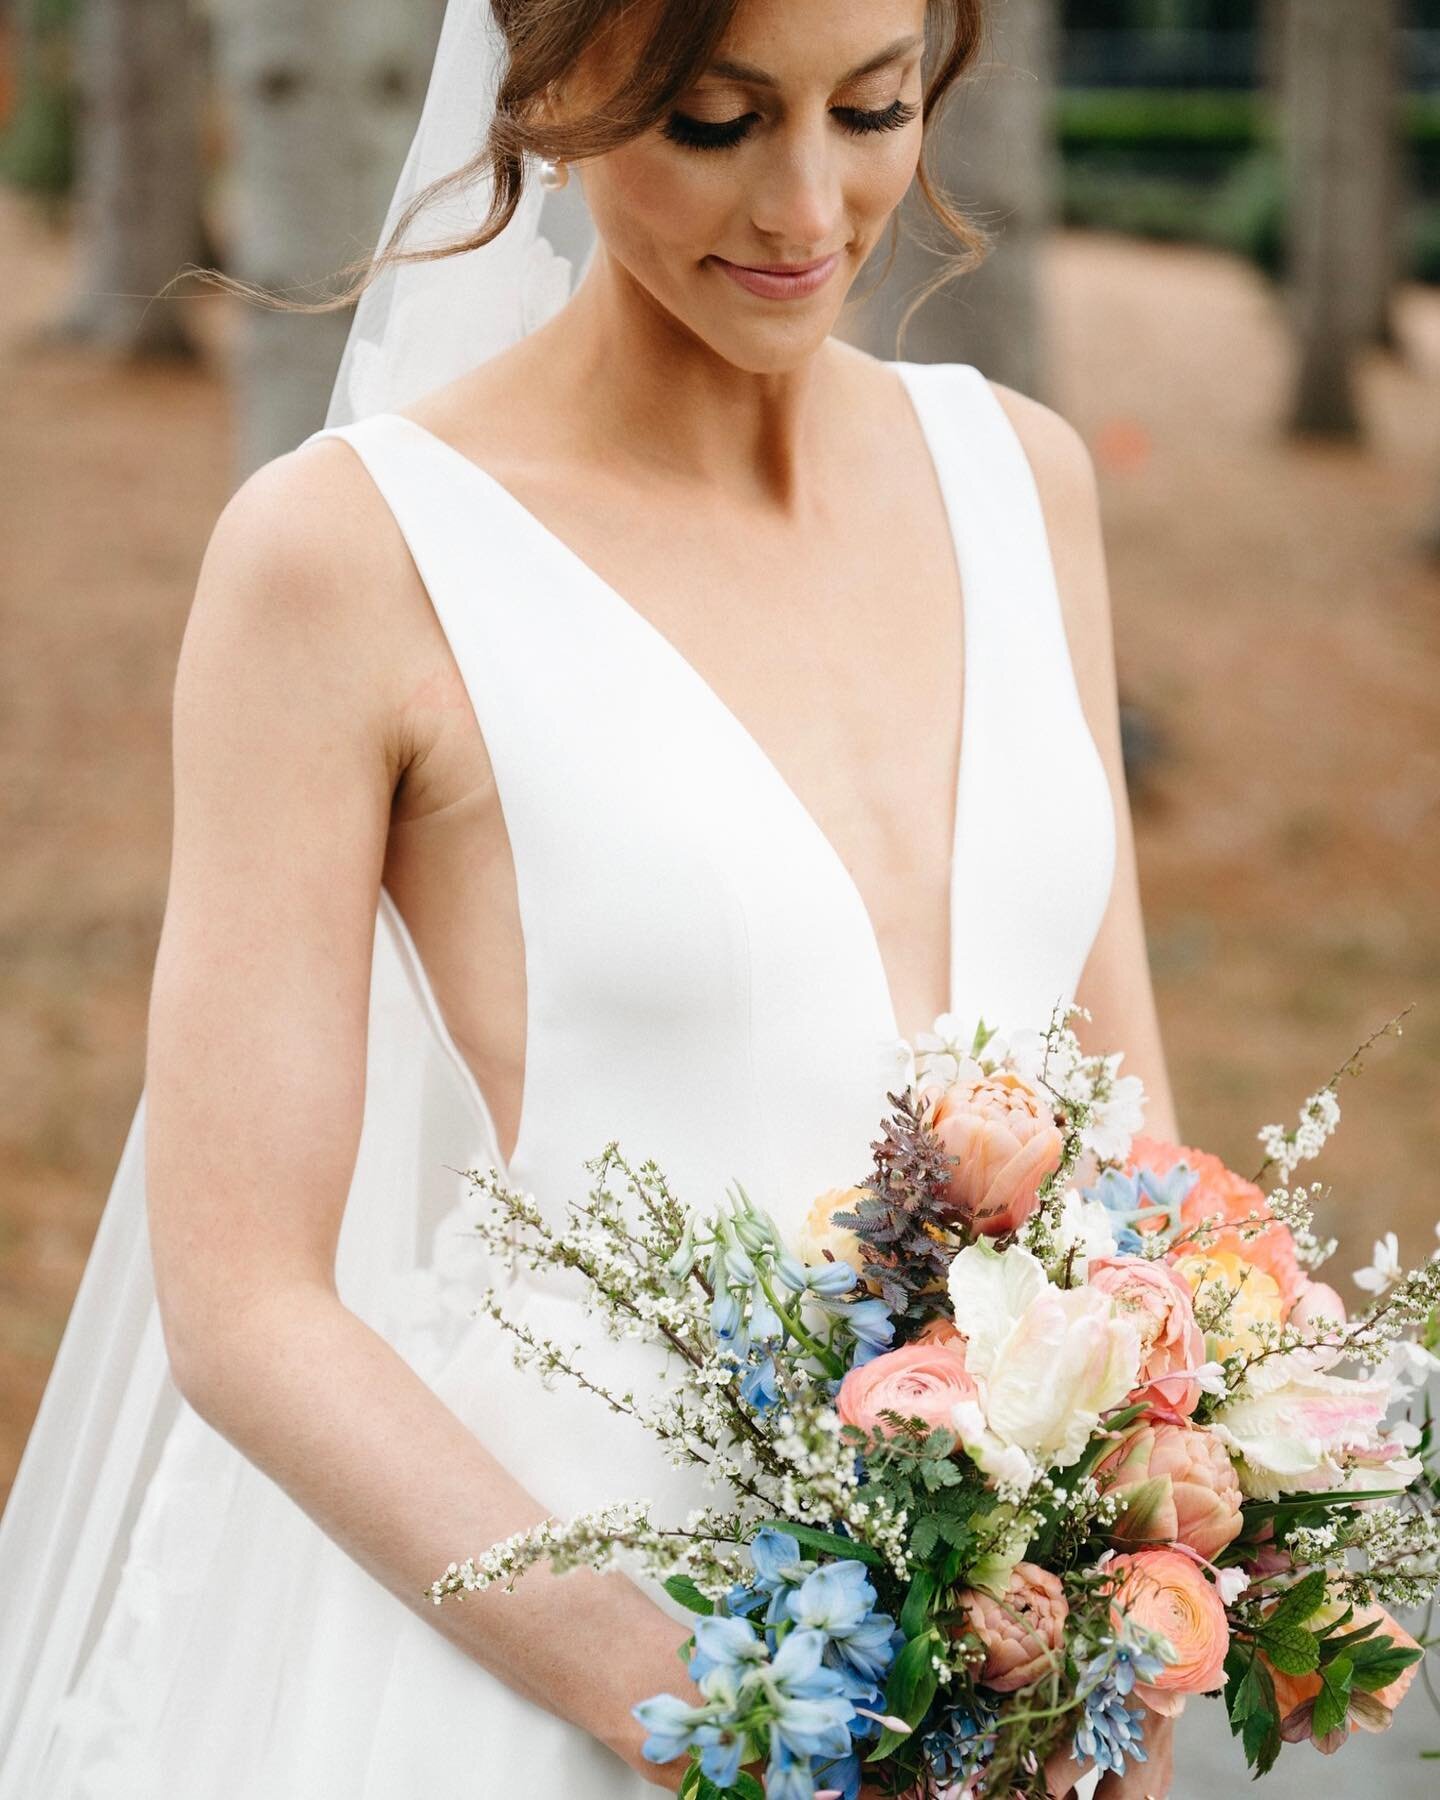
Whiten teeth: One thing my clients always rave about is how their teeth always look a little more white in their photos. My secret? Using the Whiten Teeth brush. Beautiful results every single time.
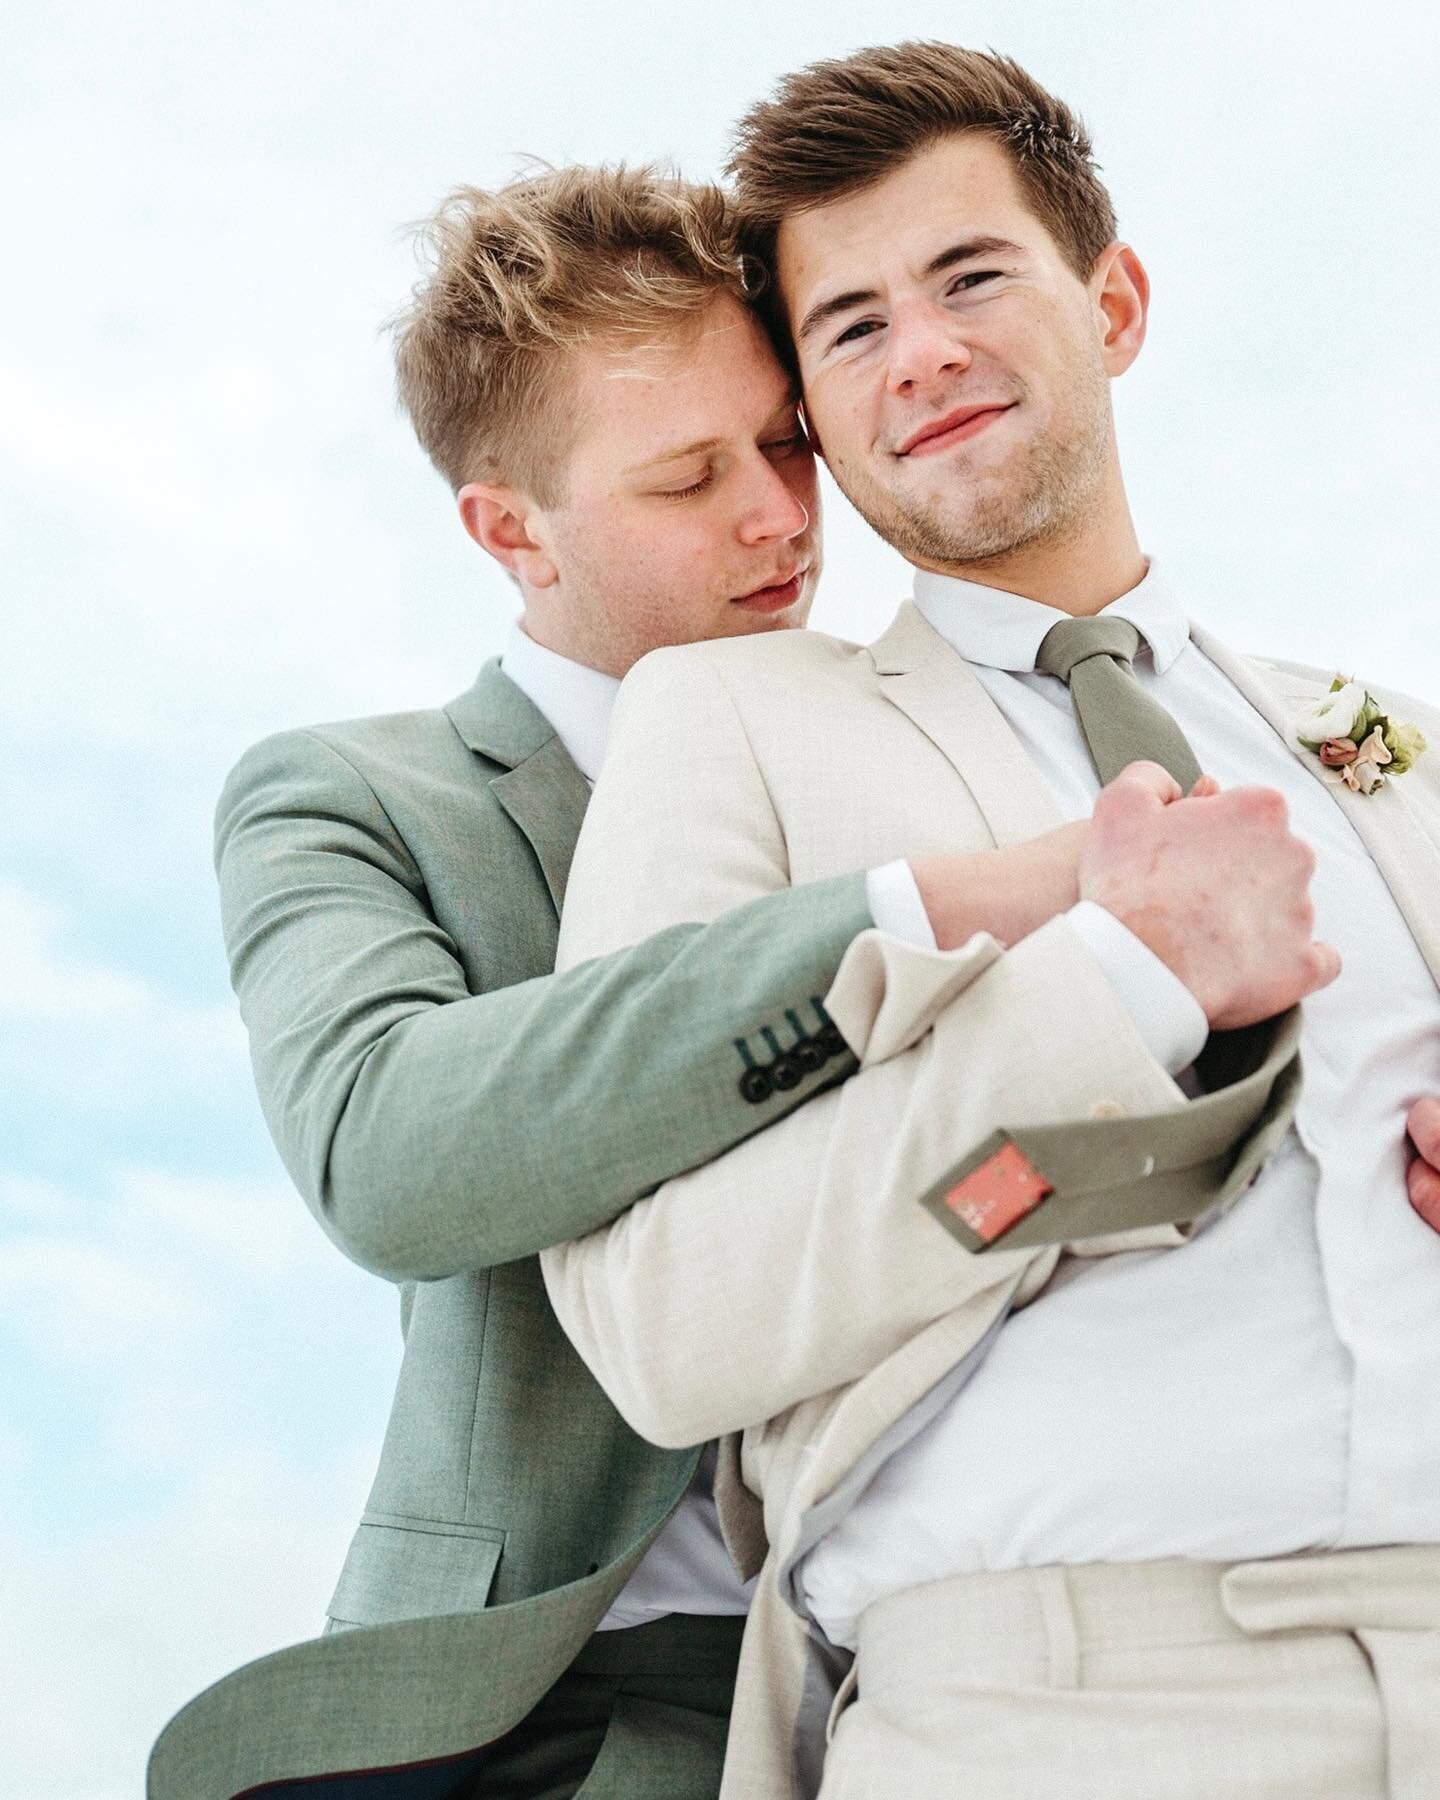
Enhance Eyes: If you want to make your client’s eyes pop try out enhancing their irises to make their eye color pop even more. For females, you can also use the Lash Enhance brush making the photos just a touch more glam.